Now for the fun bit, firing. This may be fun but it is also dangerous and Is definitely only for people who have had their shot of caffeine!
First I placed my fire grille on the hob (this came in the set I mentioned in Part I) and turned up the heat. You have to wait for it to glow orange before you can begin, and you need to remember where the orange bits were because these are the hottest areas and you are then going to turn off the hob and place your clay items on the hottest parts of the grille using tweezers and turn the heat back on.
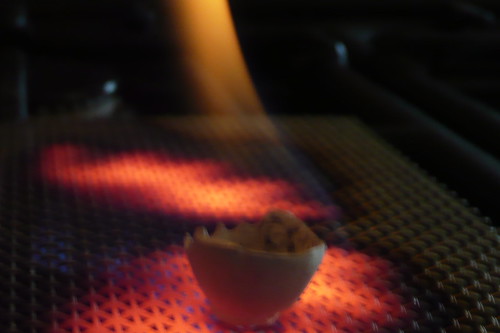
 This picture is larger because in my opinion it is the coolest part of the process. After the clay has been heating for a few seconds the binder will burn off in an actual visible flame, much like when you flambe something you are cooking, only on a smaller scale. Obviously I wouldn't recommend standing over the item at this stage or you may lose your eyebrows!
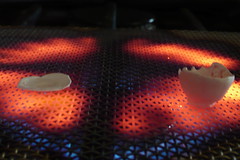
After this stage the silver is starting to fuse together, and so you have to wait until there is a slight orange glow to the items, as you can kind of see below (this is really difficult to photograph by the way!)

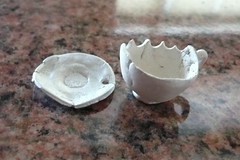
After they are glowing orange you need to keep the heat going for a few minutes to make sure they are properly fired through. You then need to turn off the heat and leave them to cool for around 20 minutes. After tis time you can move them and place them in cold water to completely cool them off. When they are fired they should be a bit smaller and will be covered in a white residue like this:

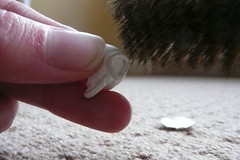
if you clink them together you can also obviously hear that they are now metal. Now comes the final parts, using a wire brush (I am using a soft brass brush here because I find stainless steel ones are too harsh) you need to brush away all the white residue until the items are a dull silver colour. Then using a silver burnisher you should rub all over the item to make them shine.


No comments :
Post a Comment
Note: only a member of this blog may post a comment.