

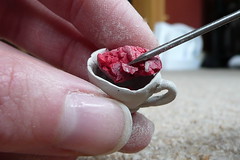
Now the first stage when the clay is dry was to remove the polymer clay from the cup. I used a needle tool to do this because it is nice and sharp. You do need to be very careful when doing this however, gently remove parts of clay at a time, because the silver clay although dry is still fragile and can be crushed easily.
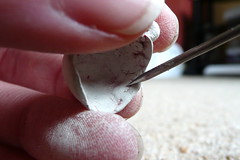

Once that was done I then used the needle tool to pick out any bits of clay that were stuck in the grooves of the clay, this is fiddly but sanding does not always get it all so it is a good idea.
After this I had to file the teeth marks into the side of the cup, I used a round miniature file for this and simply filed marks next to each other but increased the depth of the hole on the center ones, this took a bit of work and made a lot of dust so be careful and put a cloth down.
Also again this stage requires you to be gentle as too much pressure will break the cup.
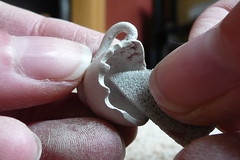
After I filed the teeth marks I also filed the edges of the top of the cup to smooth them down and make them even. I then used a superfine sanding pad to smooth all over, I attempted to remove as much of the uneven texture inside the cup as possible. It is important when doing this to try and keep the sanding stokes going in the same direction as some of the pattern will show through after firing.
After working on the cup I simply sanded the edges of the saucer and made sure there wasn't any excess around the jump ring hole and I was good to go for the next step, Part III: Firing!
No comments :
Post a Comment
Note: only a member of this blog may post a comment.