

I read through quite a few recipes, and settled upon this one and adapted it for British readers. This is a time intensive exercise so I made sure I had a whole day free to make these (and I actually managed to make a batch of cinnamon rolls in between making these, post to come soon).
They aren't perfect so I have made a change to the method, but I am pretty impressed. I had never made flaky puff pastry before, I have always cheated and got it ready done. It was hard work but they were tasty and everyone seemed to enjoy them. My tip, don't throw away the scraps, those made for the best morsels of the bunch!
So, how did I make them you ask?!
First you need to get yourself some ingredients, you Brits will notice the recipe is in US Cups, well I just so happen to have some that my sister brought back from San Diego for me, so I did some weighing as I measured everything out
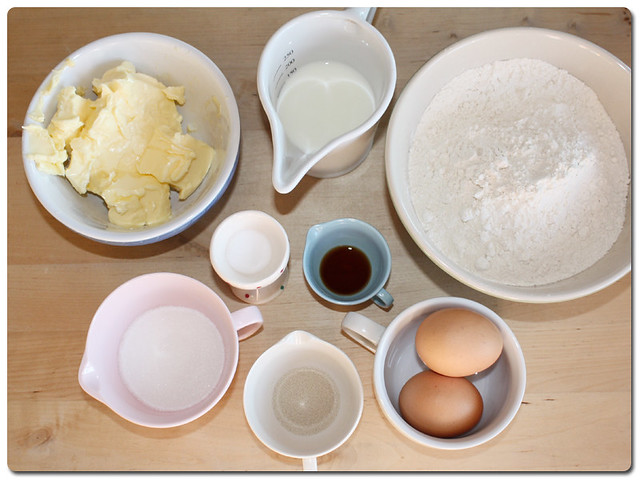
You will need:
3/4 cups (150ml) milk, warmed
1 tablespoon active dry yeast (One 7g Sachet)
1/3 cup (70g) sugar
2 large eggs
1 teaspoon vanilla
3 1/2 cups (460g) all-purpose (Plain) flour
1 teaspoon salt
1 cup (225g) unsalted butter, at room temperature
Here's how to turn them into cronut-ty deliciousness!
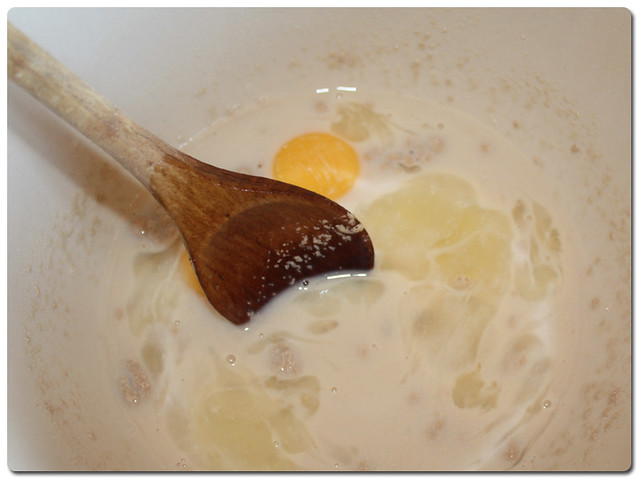
Start by mixing together your warmed milk and yeast in a large bowl.

Crack in your eggs, add the sugar and vanilla and give it another good stir. Make sure you break up the egg yolks when you are stirring, the mix is quite wet at this point so you may need to make a special effort to do this.
It will look pretty murky as below, but just give it chance.
Separate quarter of a cup (45g) of your flour out from the rest and set aside, you will need this later so don't forget!
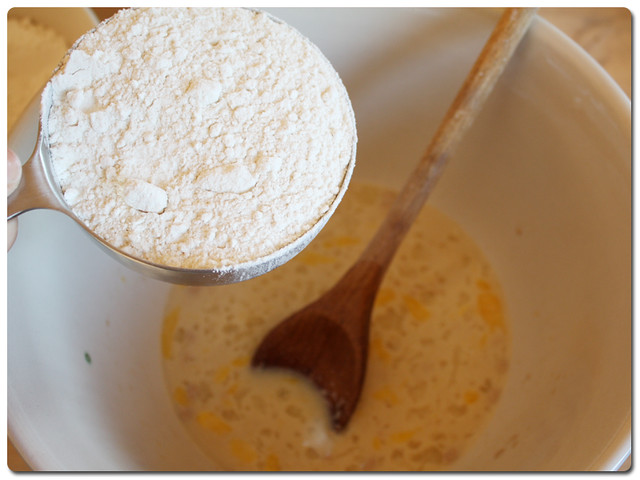
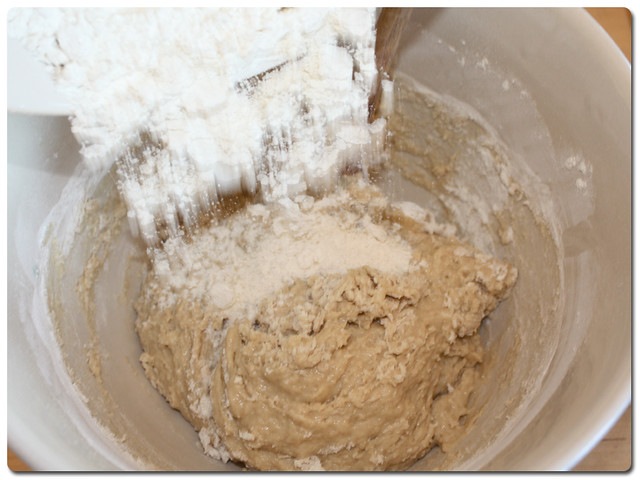
Add one cup (170g) of the remaining flour and your salt to the wet mix and stir in.
Your mix will slowly turn into more of a batter.
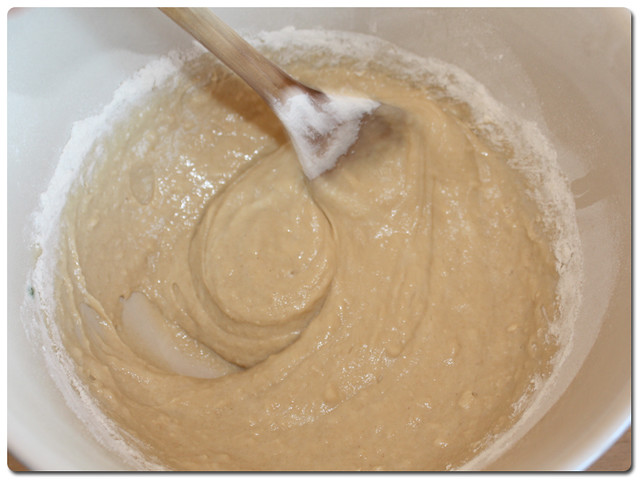
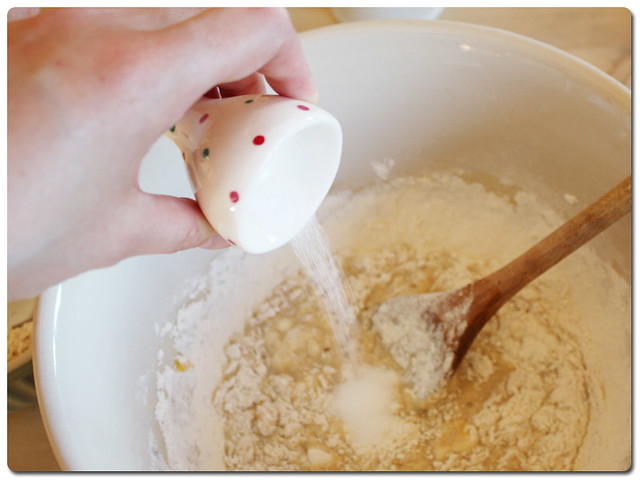
Slowly add the rest of the remaining flour (not the quarter cup reserved) while mixing until your mixture becomes more doughy in consistency.
Now it is time to get your hands dirty, use your fingers to help the dough bind together until you can easily remove it from the bowl to start kneading.

Knead the dough until it smooth yet elastic. It should have a bit of grip to it still, don't add too much flour while kneading, we don't want it to dry out.

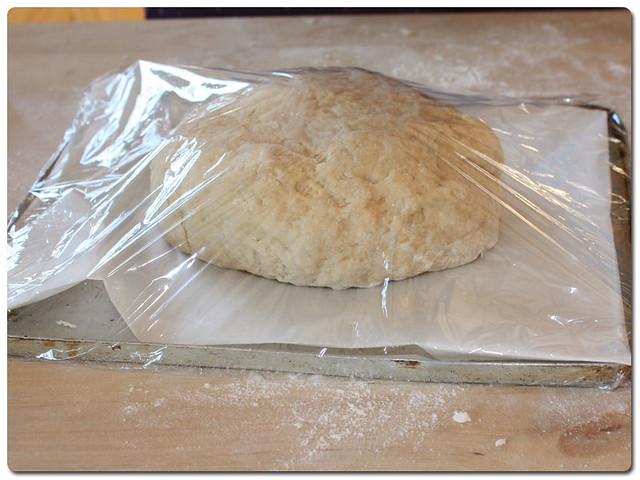
Once it has been well kneaded, place it on a baking tray covered in greaseproof and cover with cling film. Let it rest in the fridge for half an hour.
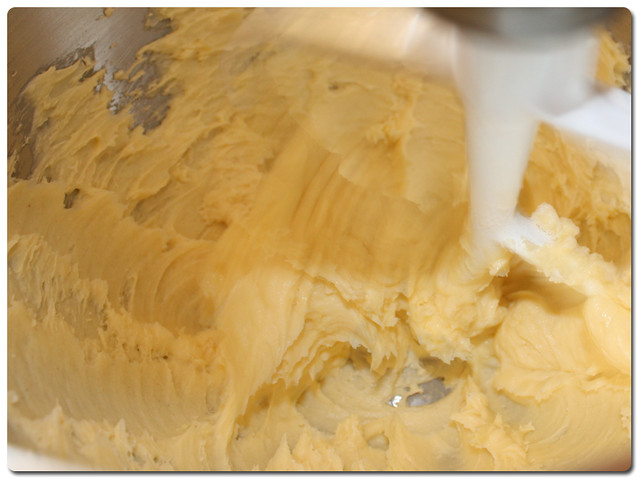
While the dough is cooling, take your butter and the reserved quarter cup (45g) of flour and put them in an electric mixer. You could do this by hand but only if you are prepared to use some elbow grease as these babies need beating together!

They need to end up light and fluffy like this
After the half an hour is up, take the dough from the fridge and place it onto a very lightly floured surface, you then need to roll into a rectangle. The original recipe stated that it should be about 13 by 18 inches and 1/4-inch thick, but I will be completely honest and admit I just rolled it to as near a rectangle as I could get, chilled dough is not easy to roll!

Once it is rolled out you need to spread the butter over the entire surface, making sure you right up to the edge. once this is done, you need to start the first of the folds.
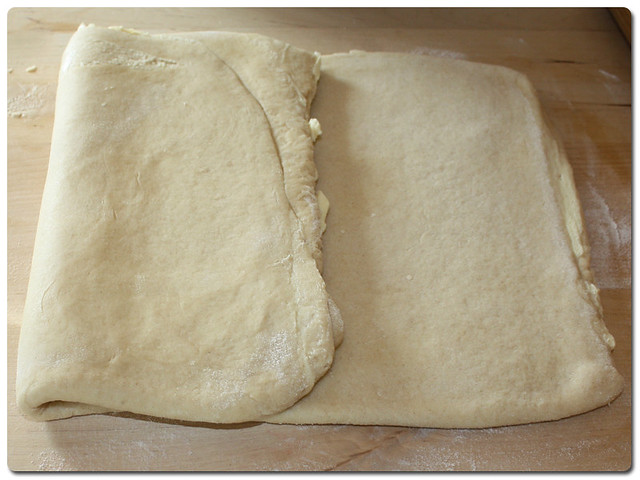
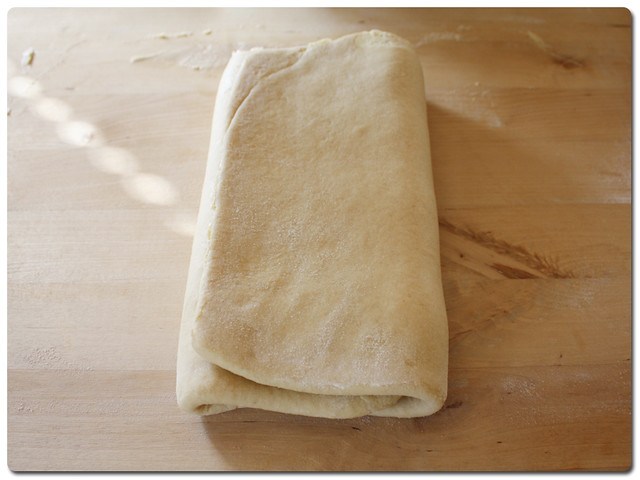
Then fold the second short side over that one, like you would a sheet of paper to go in a letter envelope.

Here is a close up of how the end should look after the first turn, good and buttery, but most importantly, the ends meet perfectly!
Place the dough back on the tray and cover, and then let rest in the fridge again for another half an hour.
You then need to take it back out of the fridge and roll it out once again, making sure that the buttery ends are to the left and right of you, so effectively a 90 degree turn from how it ended up after the previous fold.
Refer back to the folding pictures above if you are unsure, but complete the same process of folding one and then the second third of the dough into the centre. This completes the second turn and the dough should again be left to rest in the fridge for 30 minutes. Make a note of the turns as you go (i kept a tally on a scrap of paper)
Repeat the turning process two more times, making sure you roll with the open ends from the previous turn to the left and right of you, and that you give the dough enough time to rest in between each turn. Once you have made four turns in total, leave the dough to rest for at least an hour in the fridge. I left mine overnight.
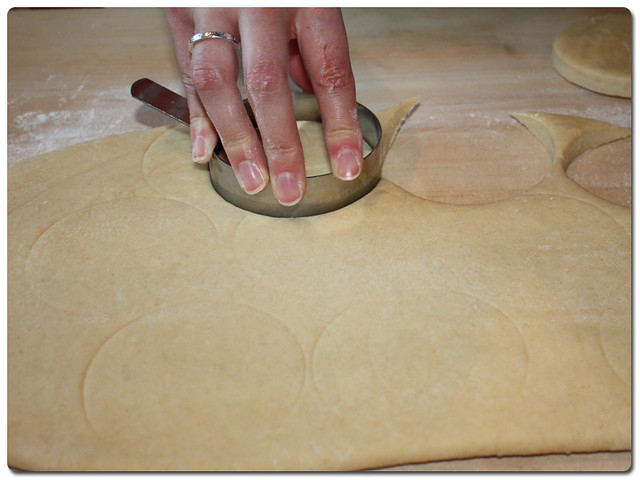
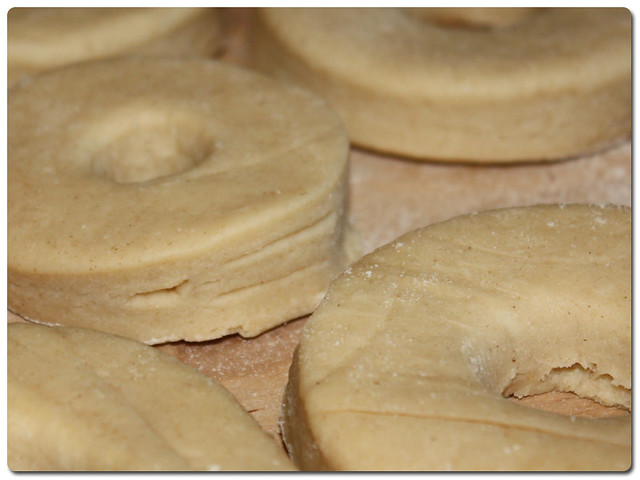
Once you are ready to start cooking the Cronuts, you need to remove your dough from the fridge and roll out to about 1 inch thick. Grab a cutter of some description (this is an egg frying ring) and start cutting out your shapes, I actually ended up using a bottle screw cap for the middles as I didn't have a cutter small enough.
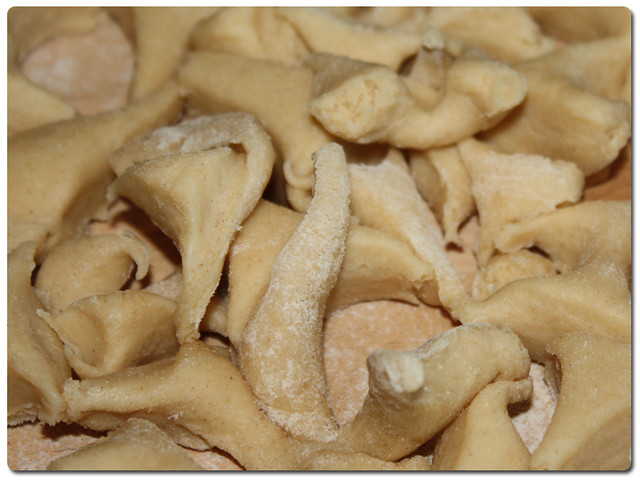
Don't forget those scraps! Make sure you keep all the middles and cut the scraps into manageable pieces so that you can fry those too.
Get yourself a pan that you can deep fry in (I used a wok) and fill it by a couple of inches, we need the oil to be deep enough that the cornets can float.
Now the original recipe says to heat the oil to 350 degrees Fahrenheit, but I discovered the hard way that is far too hot! I ended up almost burning the outside of some of my cronuts and having to bake them to cook the middles, so I am going to say the best way to gauge the temperature is to cook some of those scraps. Grab a big piece and pop it in, the oil should bubble around it, and when it is golden take it out and break it open. if the inside is all flaky and perfect then the oil is hot enough.

When you are ready, start to place your cronuts very carefully in the oil, be careful so that it doesn't spit back at you and burn.
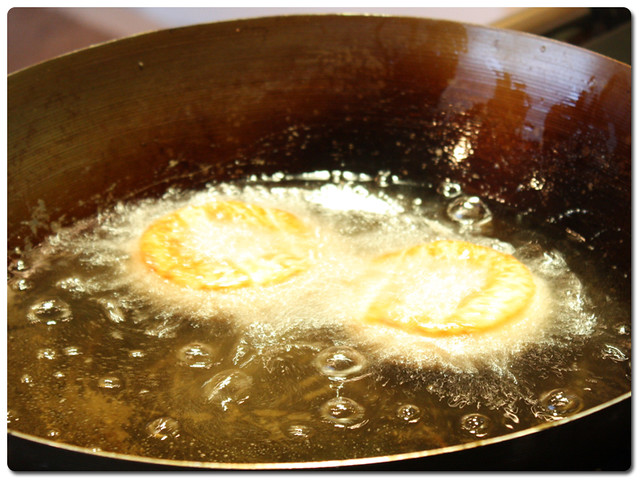
Let them sizzle away, the most I put in the pan at once was two as the more you put in the pan the lower the temperature becomes.
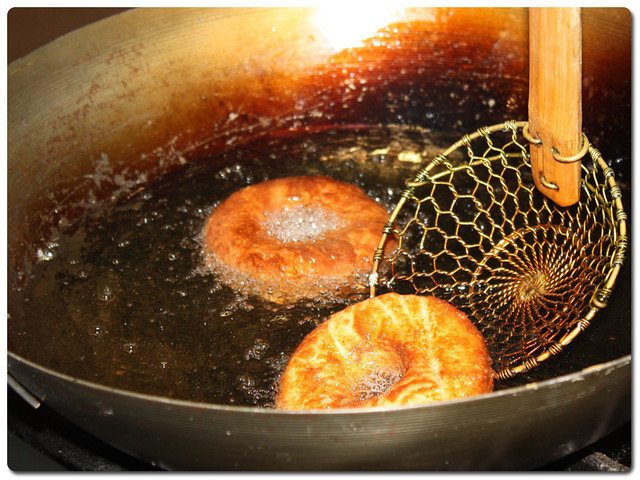
Once they are golden on one side, flip them over, and continue to flip if you think they need a little longer to make sure you don't burn one side. When they look all puffy and crisp and a deep golden brown fish them out with a straining spoon and let them drain onto a piece of kitchen towel.
Once they are all cooked, you can either glaze them warm or let them cool a little so that the glaze sets. I made the maple glaze in the recipe for mine, but you could go wild here with all sorts of flavourings just like they do at the Dominique Ansel Bakery
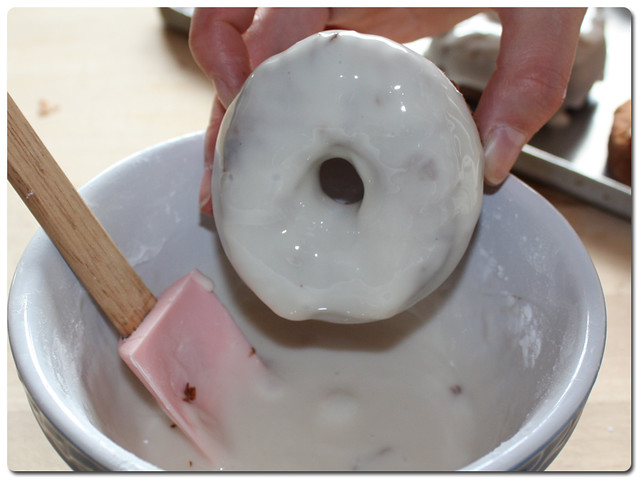
Now I find recipes for a glaze a bit redundant as they never seem to be right if you use the supposedly correct measures, so I basically mixed a couple of tablespoons of maple syrup with icing sugar and a bit of milk in a bowl, adding little bits of each until I thought I had a relatively thick glaze which should set.
Then I started simply dunking them in and letting them drip onto the tray!
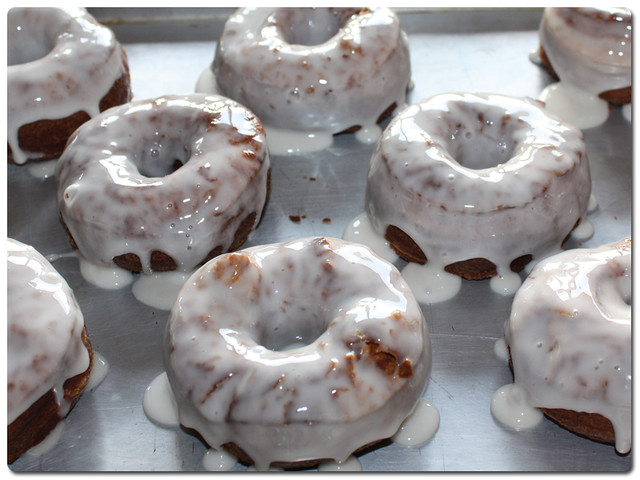
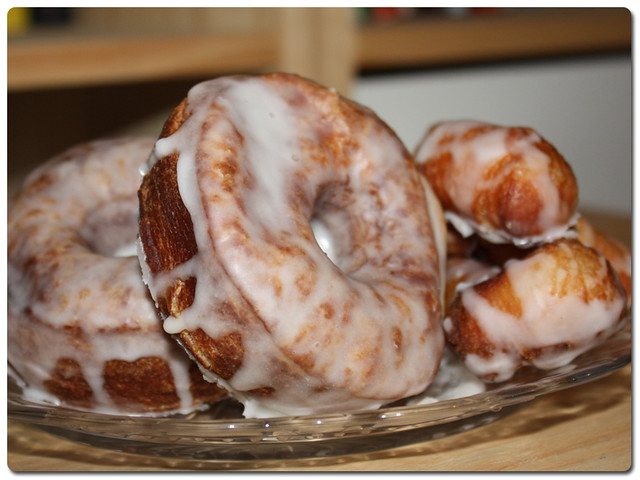
They look pretty good don't they?
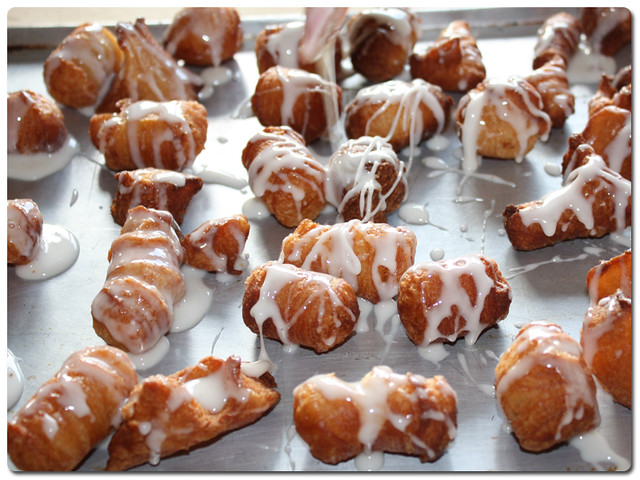
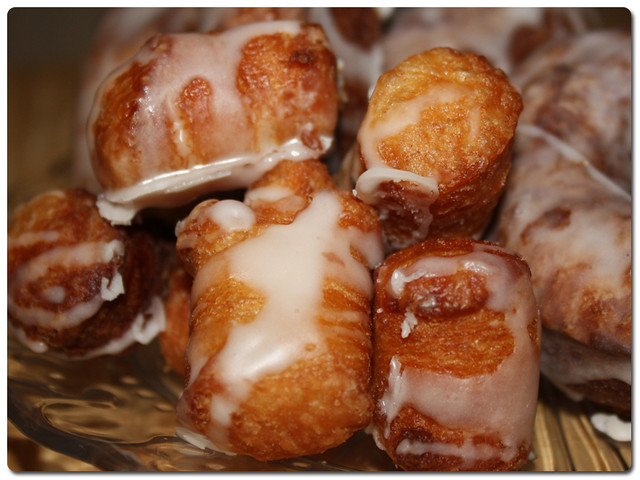
I drizzled the left over glaze over the scraps so that they didn't get all lonely too.
After waiting what felt like an age, I took some round to a friends and we all tucked in!
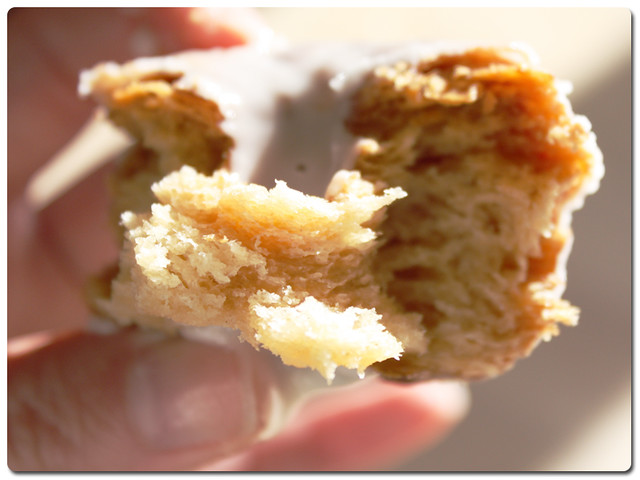
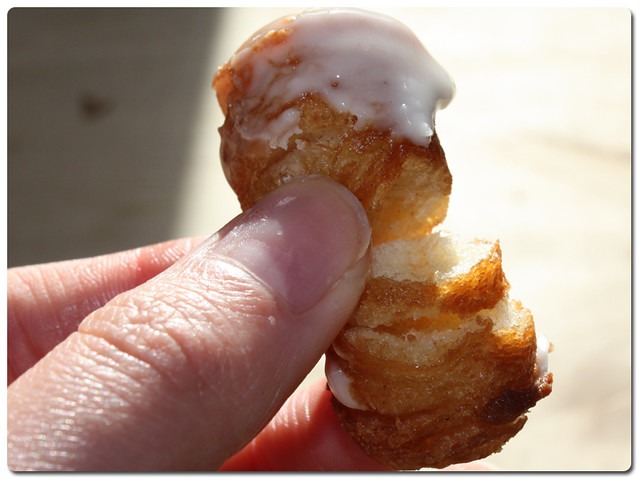
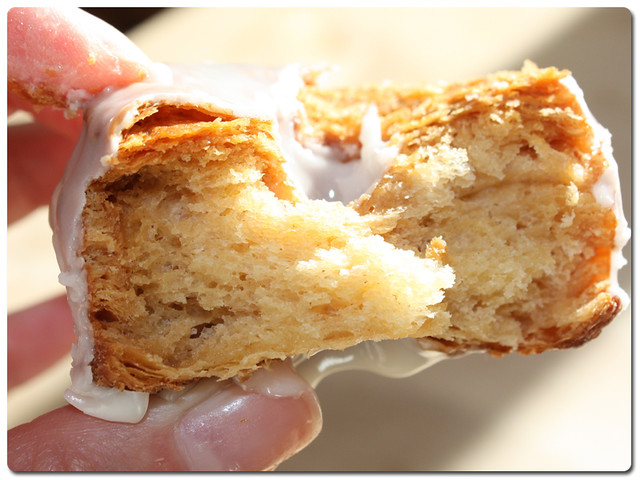
Check out the flake on those bad boys!
They were very very good. Really good. So much so I have already been asked when I can whip up some more!
So, a bit time intensive, but oh so worth it. Yum.
Will you be giving them a try?
No comments :
Post a Comment
Note: only a member of this blog may post a comment.