Image Map
Showing posts with label Baking. Show all posts

Sunday, 1 June 2014

Cornbread Muffins

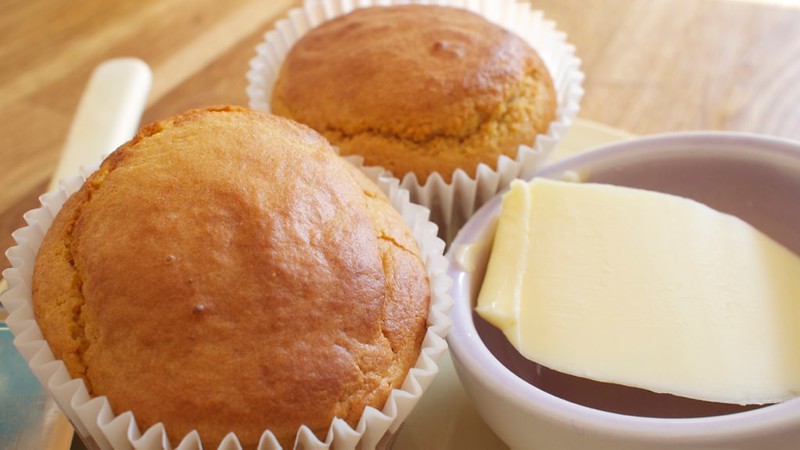
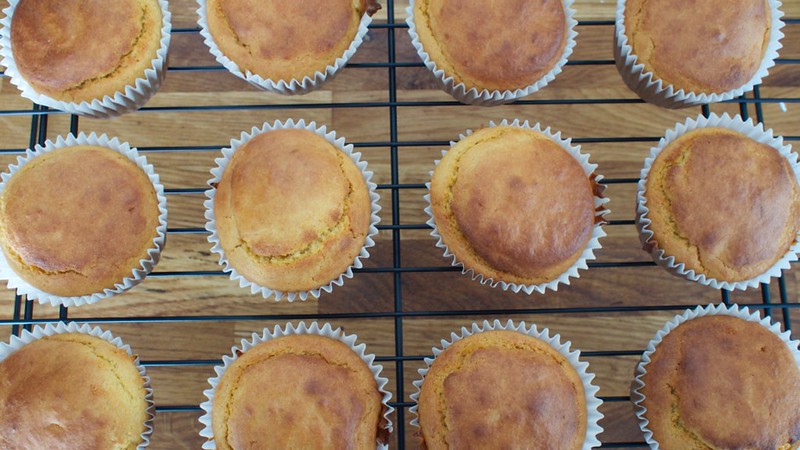
Last weekend J made a delicious Chili Con Carne for our tea. He started cooking first thing in the morning and by the time we tucked in around 7pm the flavours had all intensified and the smell was truly mouth watering. Unfortunately I forgot to get my camera out while he was cheffing away, fortunately I didn't forget when I cooked up my favourite accompaniment to Chili, Cornbread.

Cornbread2

I always make mine muffin style, I think because the first time me and my Mum ever tried these it stuck to the pan big time, absolute disaster! You can make this in a cast iron skillet though if you prefer, just make sure it is well greased.
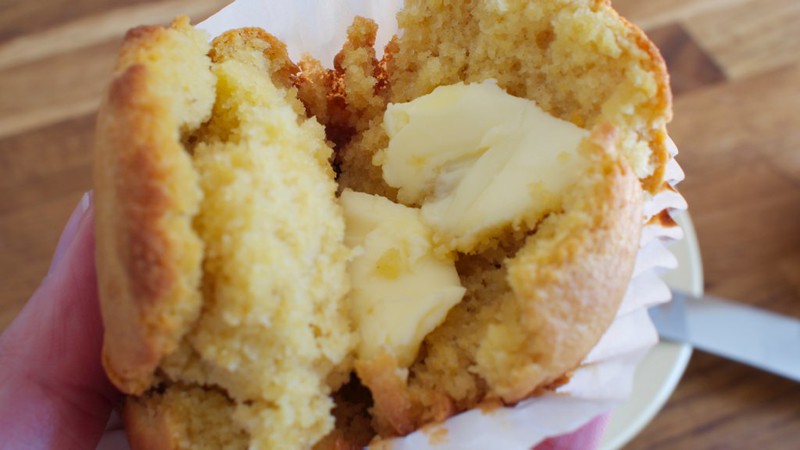
I also like mine plain, as there is nothing better than a warm cornbread muffin straight from the tray split with your thumbs and given a dollop of butter, it melts into a crumbly sweet mouthful that goes perfectly with the tang of tomato in the Chilli.

cornbread1
Adapted from about five different recipes over the years, but I started with Martha Hall Foose's version from Screen Doors and Sweet Tea

You will need:
170g Cornmeal
170g Plain Flour
1tsp Salt
1/4 tsp Ground Cumin
4tsp Baking Powder
3 tbsp Runny Honey
2 Eggs
250ml Buttermilk
50ml Milk
50g Unsalted Butter - Melted

Pre-heat your oven to 180 degrees Centigrade (Gas mark 5) and line your muffin tins with muffin papers, I made exactly 12 muffins from this mix.

Cornbread12

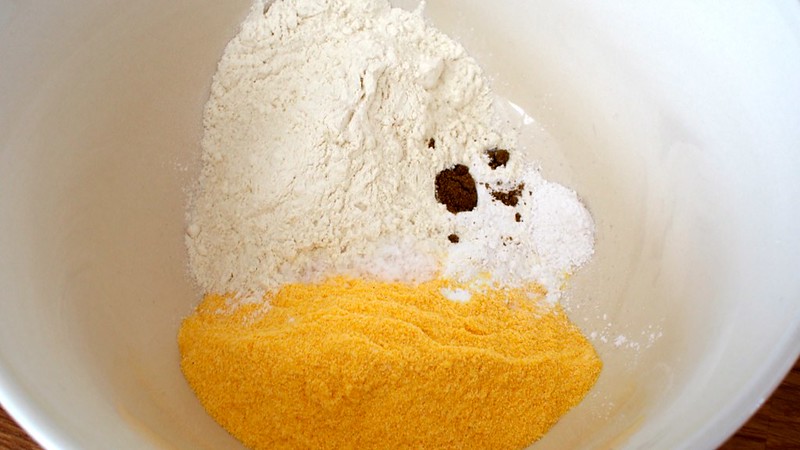
In a large bowl mix together the flour, cornmeal, baking powder, salt and cumin.

cornbread14cornbread11Cornbread5

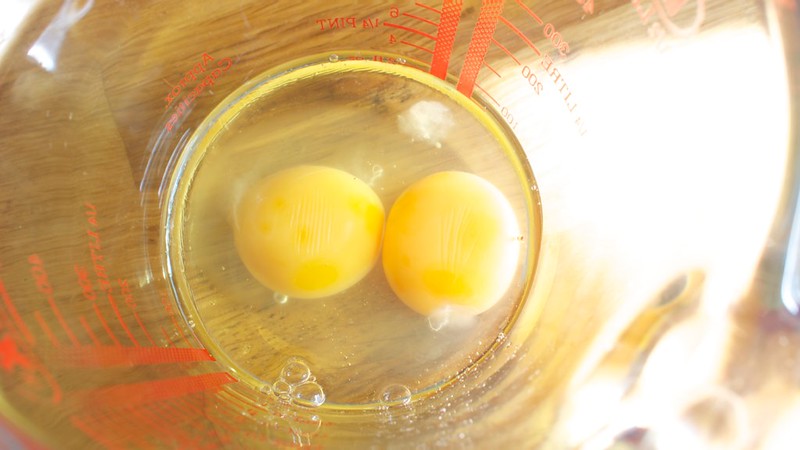
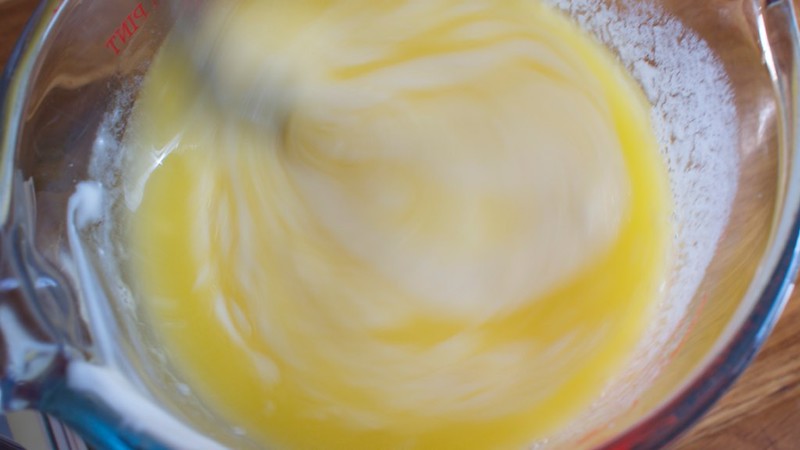
In a medium sized jug break in your eggs and mix in the buttermilk, milk, honey and melted butter.
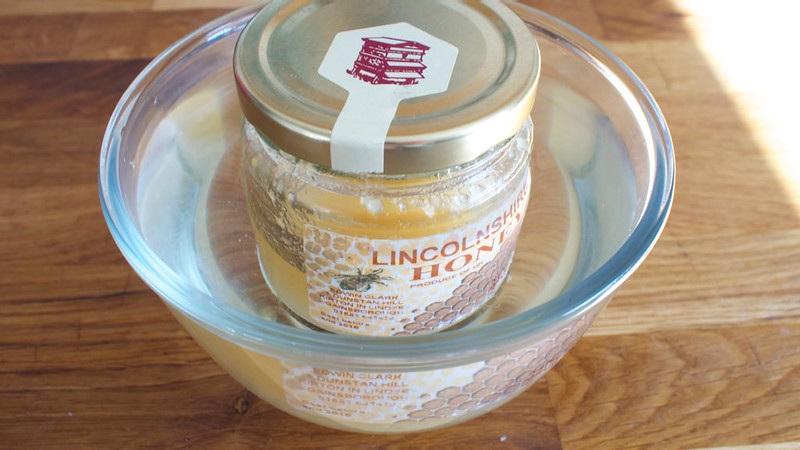
I don't know about you but I always have to warm my honey to get it to go liquid again, I stick the jar in a bowl of freshly boiled water and it does the trick.

cornbread10cornbread9

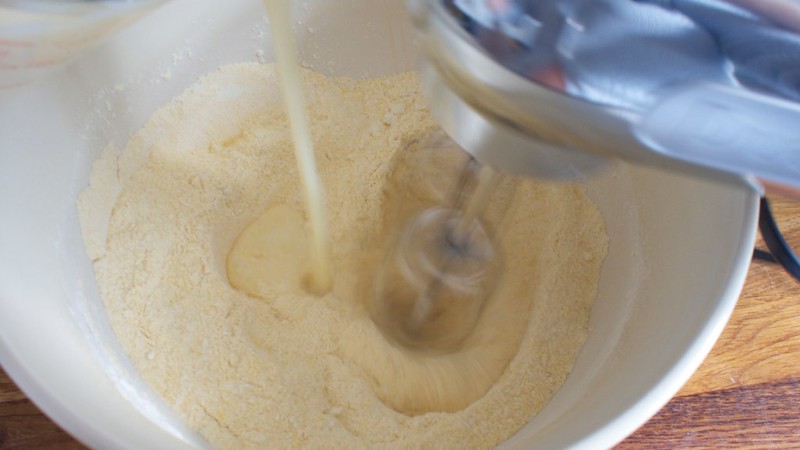
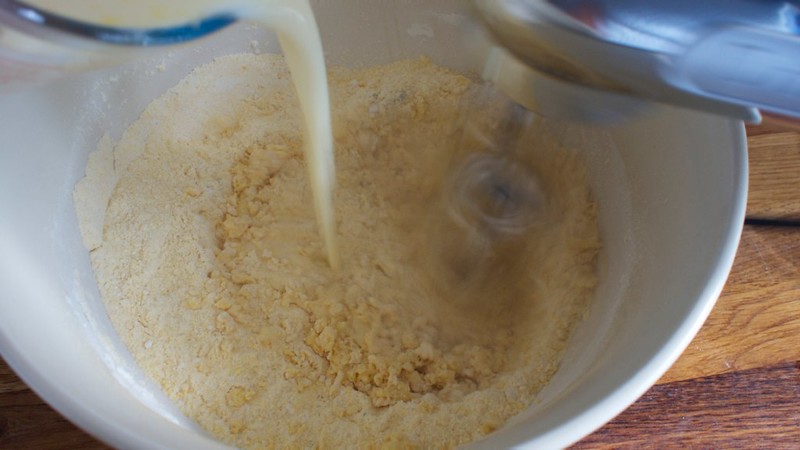
Make a well in the dry ingredients and pour the liquid mixture in while mixing on a low speed using a handheld mixer (or using the paddle attachment on a stand mixer)

cornbread8

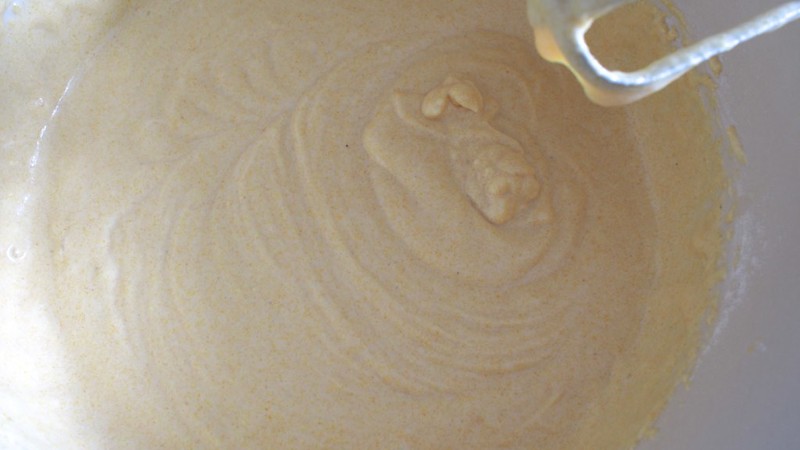
Once brought together scrape down the sides and mix on medium until the batter is smooth but for no longer than one minute.

cornbread7cornbread6

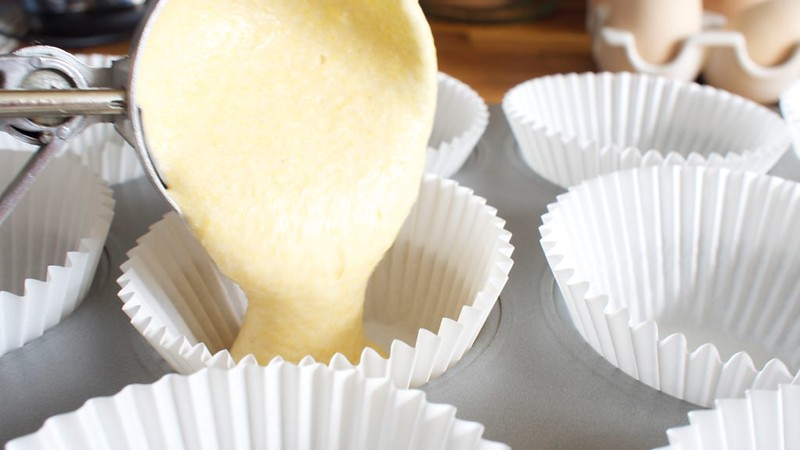
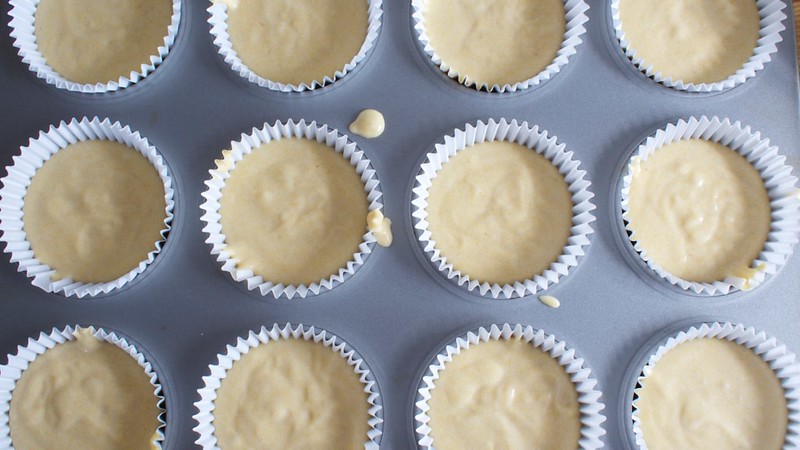
Leave to rest while the baking powder does its stuff for a couple of minutes, then using an ice cream scoop, or a spoon if you don't have one, scoop one measure into each muffin case. Lick clean the bowl and scoop.

Cornbread4Cornbread3

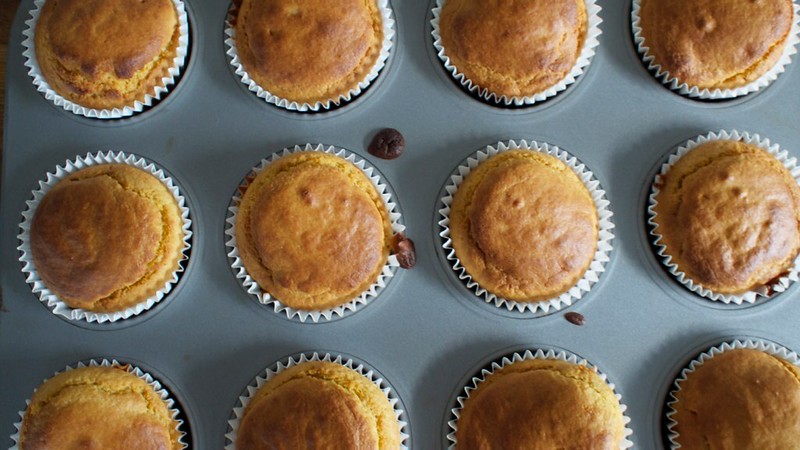
Bake for 20-25 minutes until golden on the top and springy when pressed. Allow to cool in the tray for a few minutes before removing to a wire rack.

cornbread1

Scoff the lot with a dollop of butter! Yum!


Sunday, 2 February 2014

A Treat for Pooches

Today it is time for some baking, but not of the human variety, it is time to do some baking for my canine friends.

dogbics3
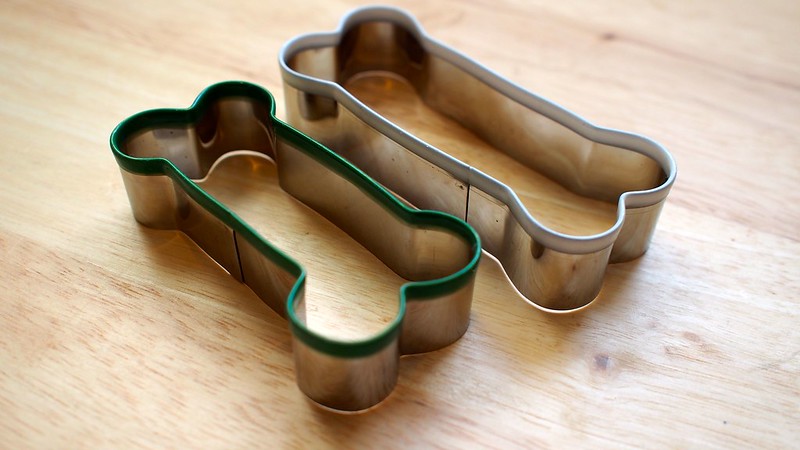
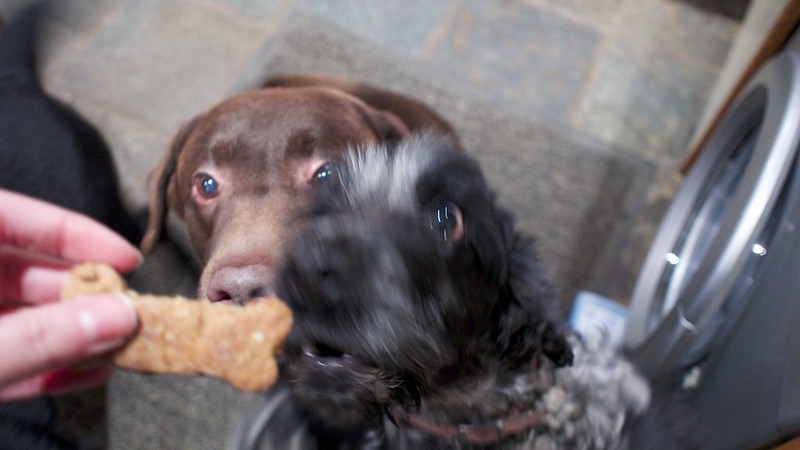
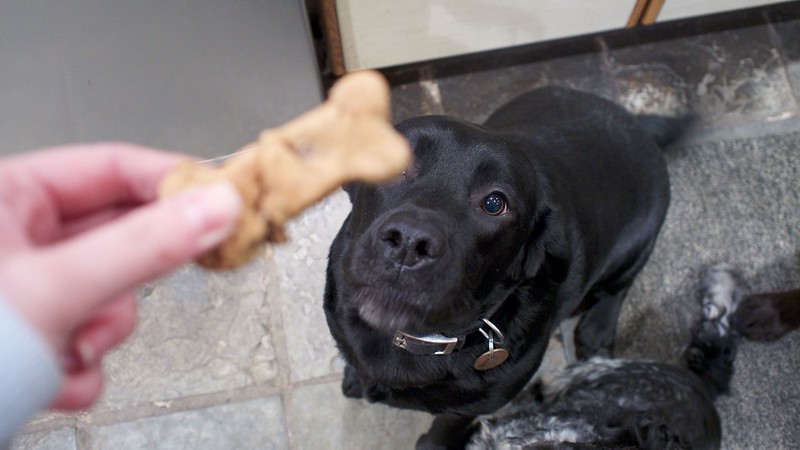
I have introduced you to my other half's dogs before, there are four of them in the household and they are absolutely wonderful. They are also very partial to the odd biscuit or three. Knowing I really wanted to give baking homemade biscuits for them a go, my Mum kindly bought me some bone shaped cutters for christmas, I was very excited to finally get around to using them earlier this week. I think the dogs were excited too!

dogbics1
dogbics2

These biscuits are also incredibly easy to make, it took me maybe an hour with cooking time to make these, so relatively easy to whip up regularly if you would rather give your dogs a treat filled with stuff you can trust.

I spent quite a while looking at recipes on the internet to use, and eventually settled on this one from Sally's Baking Addiction. I have made a few changes to the quantities though to make for a slightly easier to handle dough as Sally described hers as stiff and it didn't seem to rise much, my quantities are listed below.

dogbics5

You will need:
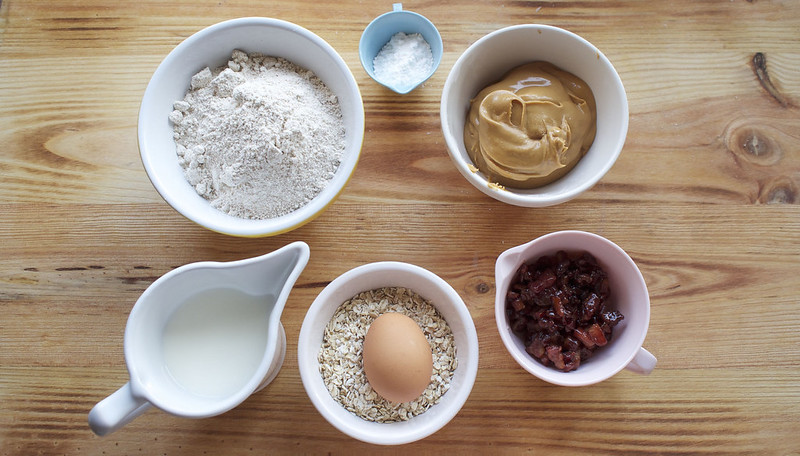
275g Smooth Peanut Butter
200ml Skimmed Milk
1 Large Egg
250g Wholemeal Flour
45g Porridge Oats
1 Heaped Tablespoon Baking Powder
A few strips of Streaky Bacon, or 2 blister packs of pre-cut bacon

dogbics4

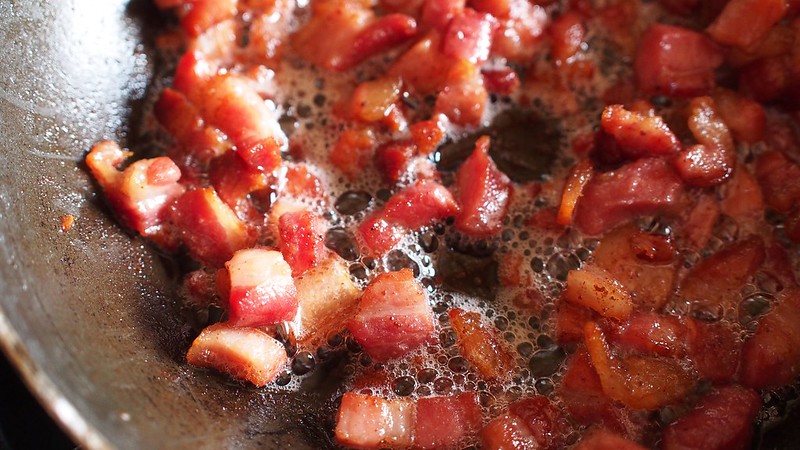
Start by frying your bacon, it needs to be cooked low and slow so that the fat renders but it stays flexible and doesn't crumble. Set it aside to cool while you pre-heat the oven to 160 degrees celsius, and start mixing the other ingredients together.

dogbics6
dogbics7
dogbics8

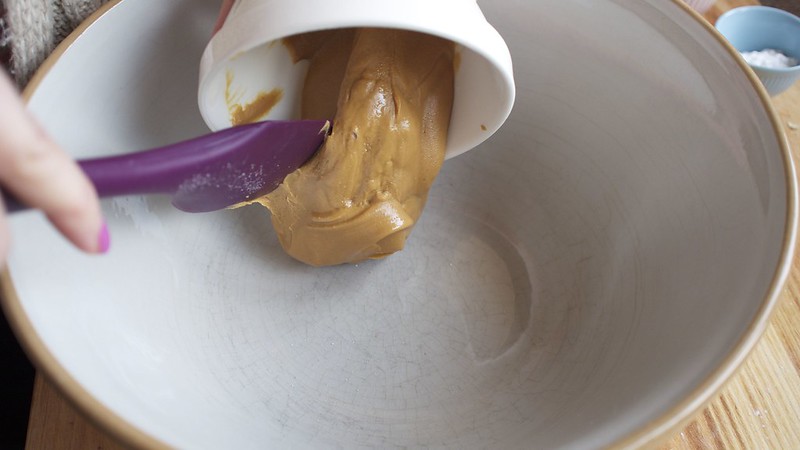
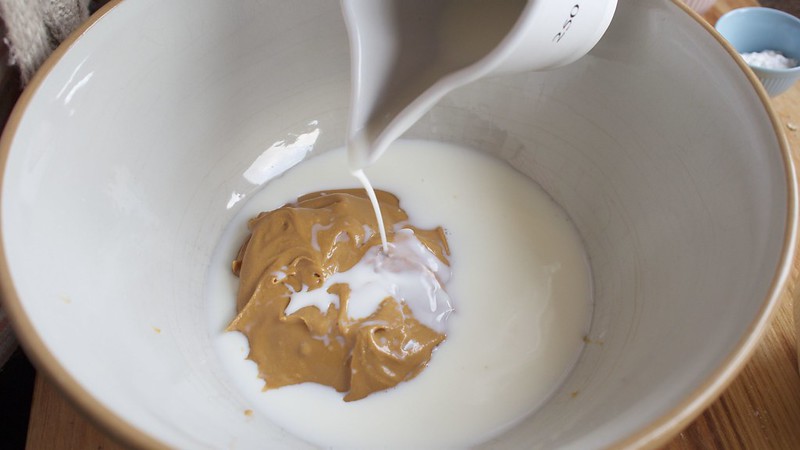
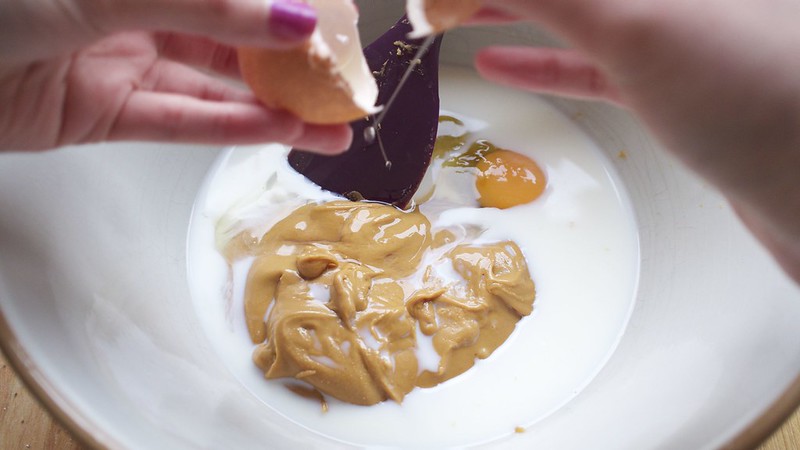
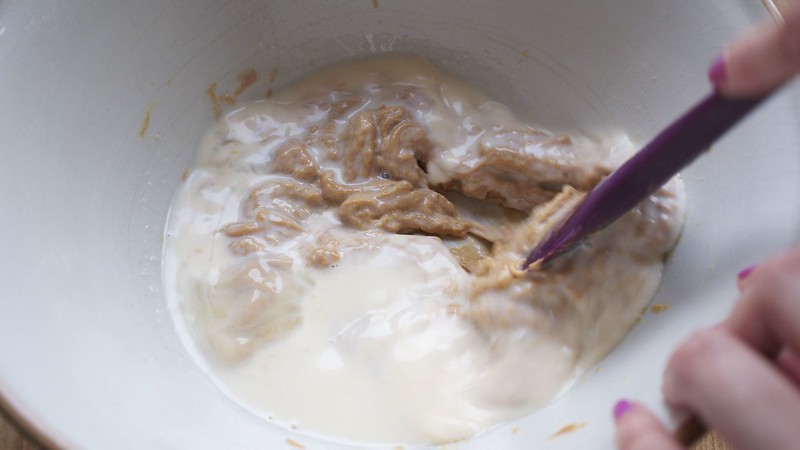
Put your Peanut Butter, Milk, and Egg into a large bowl (It needs to be large so you don't make too much mess) and slowly start to mix it together. You need to be gentle here and don't slosh too much.

dogbics9
dogbics10

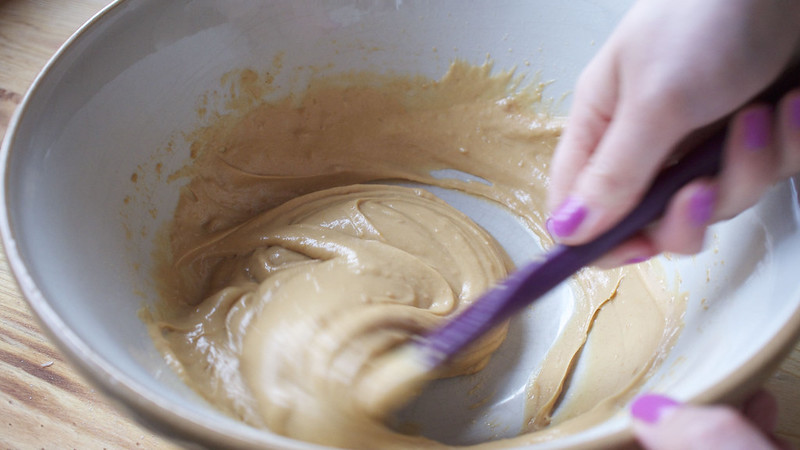
Eventually the slop will combine and start to look like thinned Peanut Butter.

dogbics11
dogbics12
dogbics13

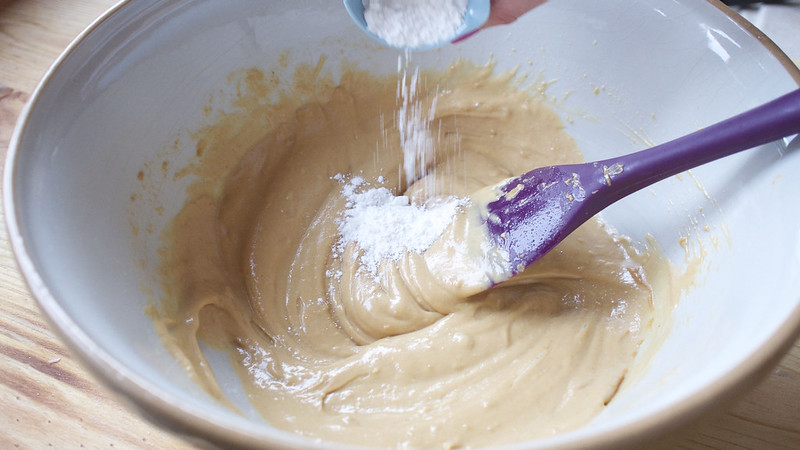
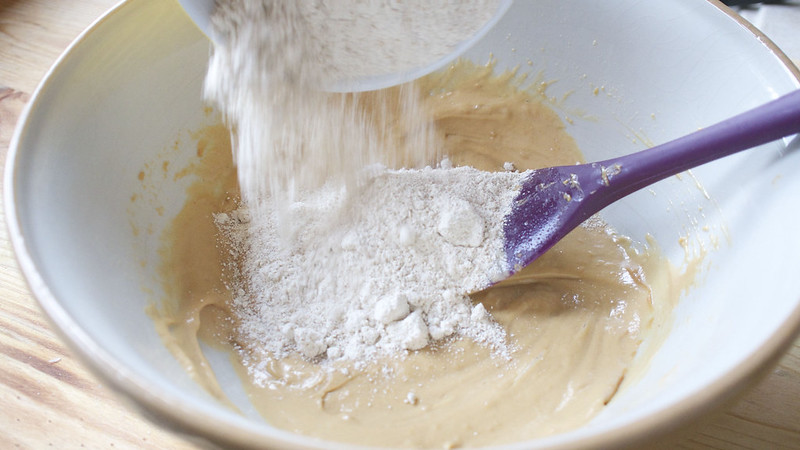
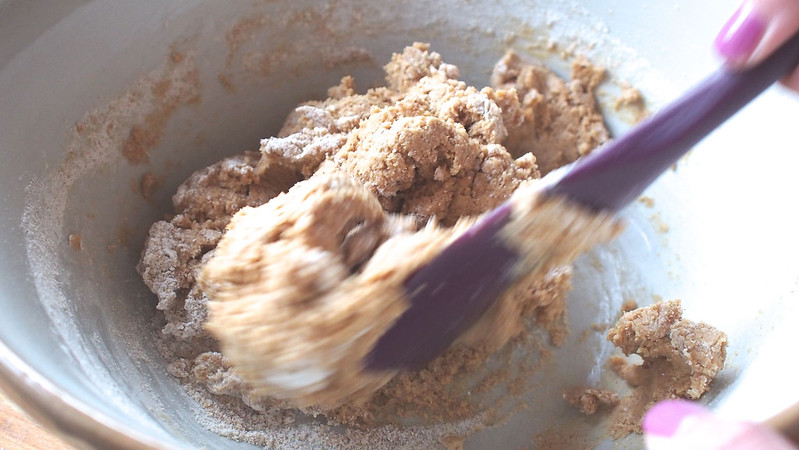
Add the Baking Powder and Flour and start to bring together the wet and dry. The mix will take on a doughy consistency and start to come away from the bowl.

dogbics14
dogbics15
dogbics16

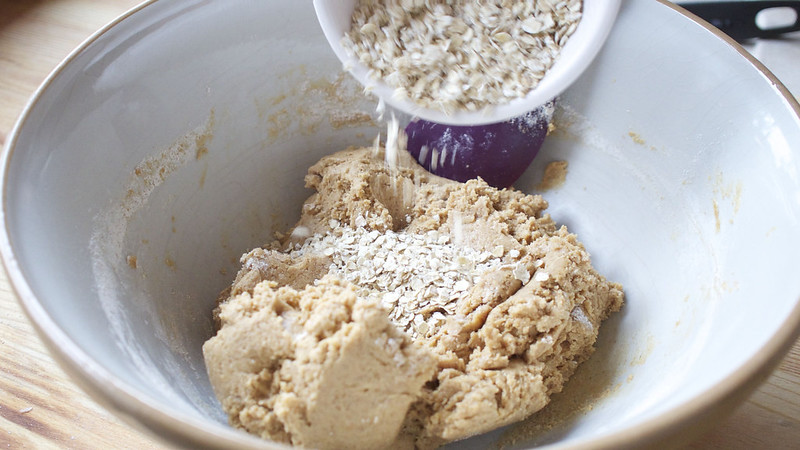
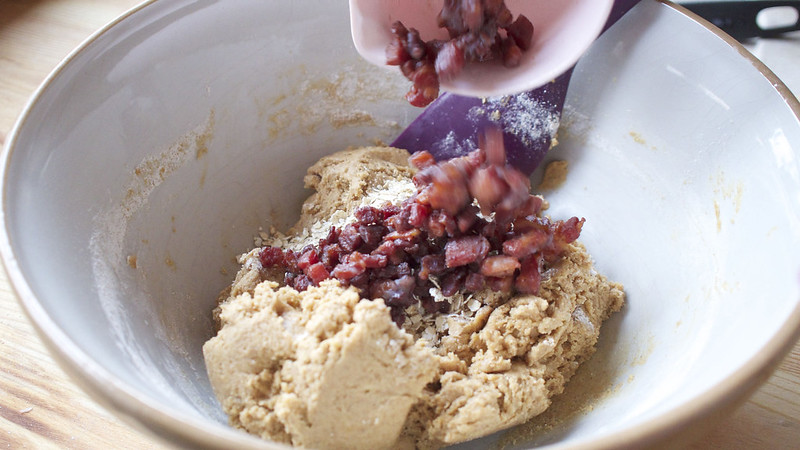
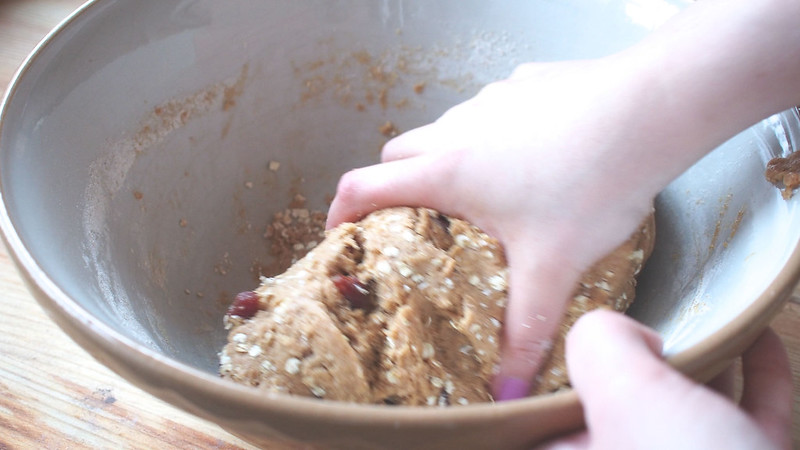
Add your oats and cooled bacon slices and use your hands to evenly distribute them through the dough.

cogbics17
dogbits18
dogbics19

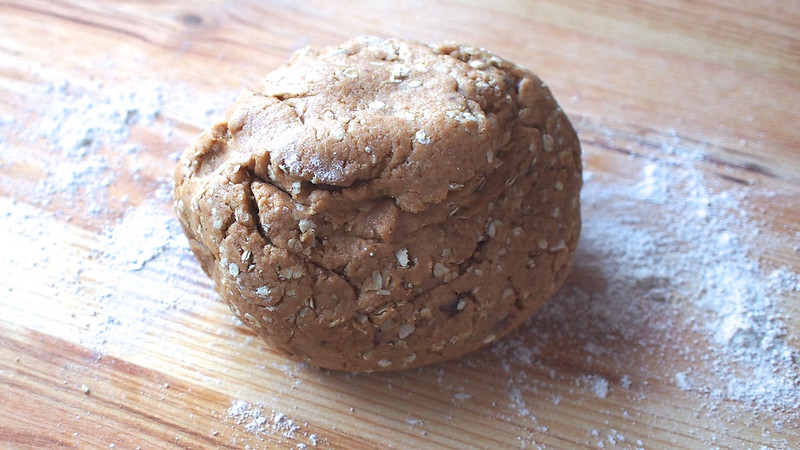
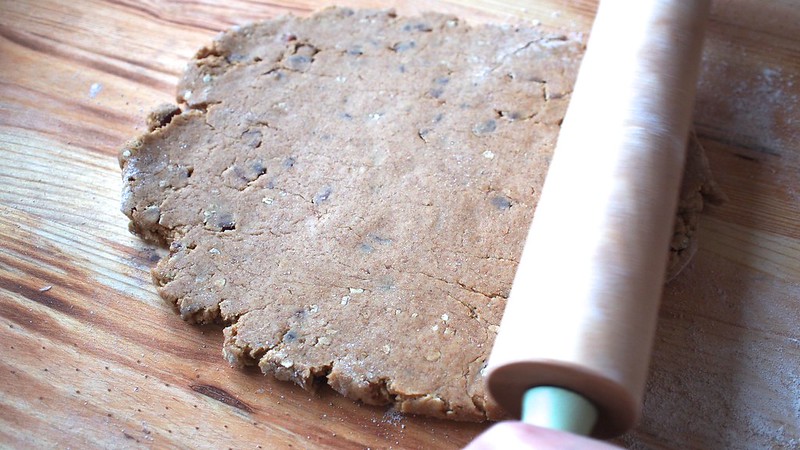
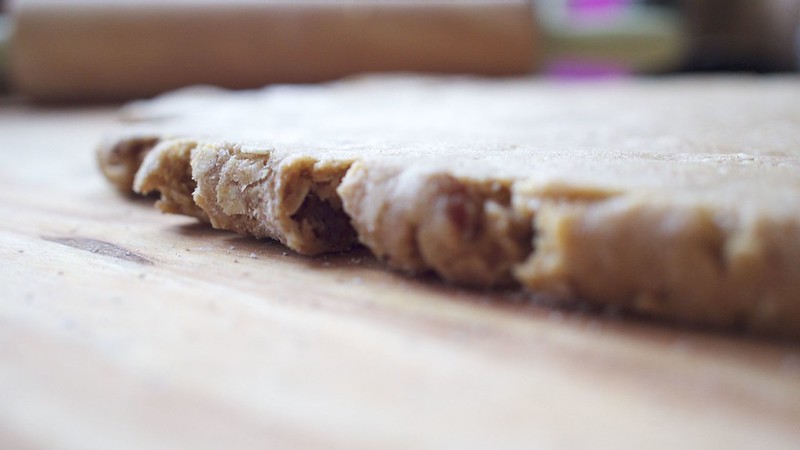
Turn the dough out onto a floured surface and bring it together further. Roll it out to a half inch thickness.

dogbics20
dogbics21

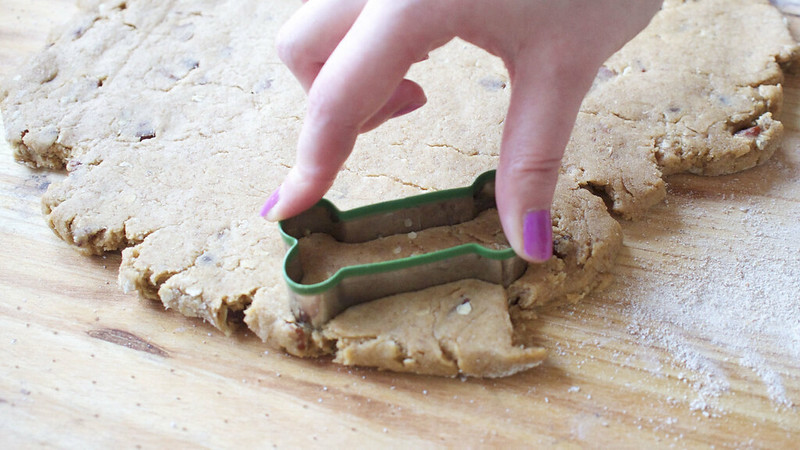
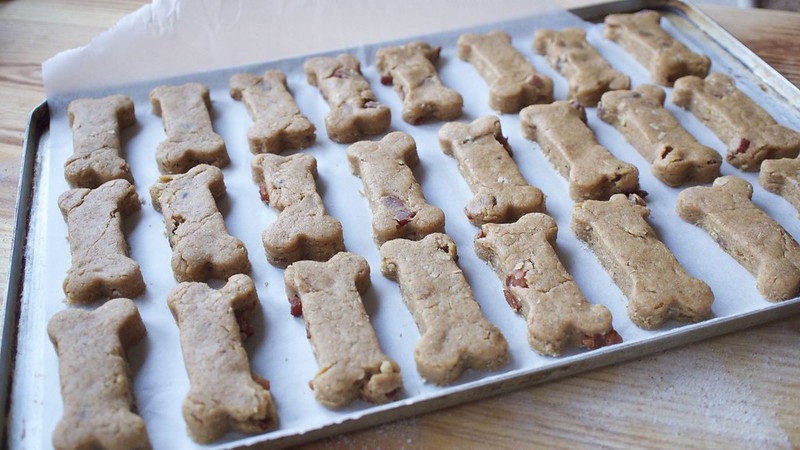
Take your cutters and start chopping out those bones! I ended up with over 30 biscuits after using all the scraps of dough. Place them on a lined baking tray and cook until just brown, this took me 18 minutes, turn them over and cook for a further 12 minutes or until brown on that side as well.

dogbics22
dogbics23

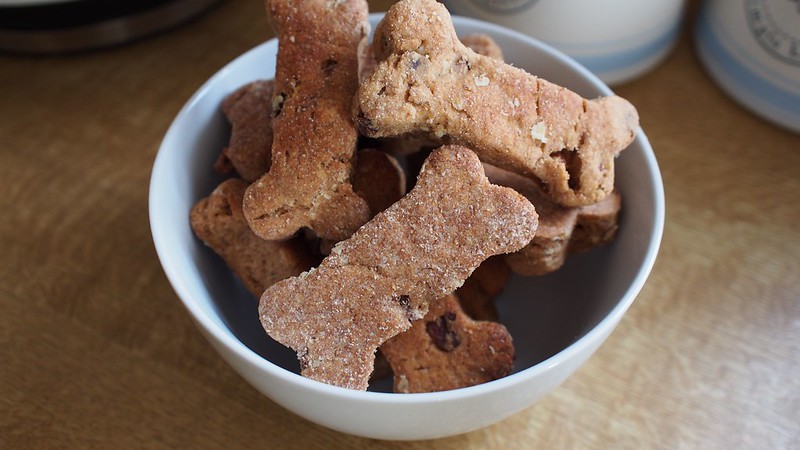
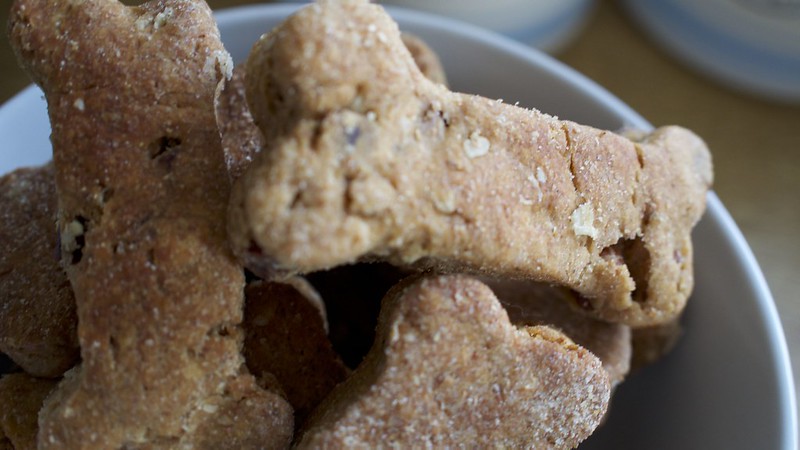
Once cooked, remove from the trays to cool. They should be quite dry and crisp.

Keep them in an airtight container for up to a week, or freeze them for up to two months if you have less canine chums to feed. Needless to say these haven't lasted long (there are only 5 left after a week!) and the dogs absolutely love them so I will be definitely making them again.

Have you tried making your own pet treats before?

Tuesday, 17 December 2013

Cinnamon Rolls

I am a big food person, I love to flip through cook books and drool over food pictures on blogs. One of the main types of recipe I look at is cake. I am a cake person, I just can't help it, there is something about how squidgey and yummy cake is.

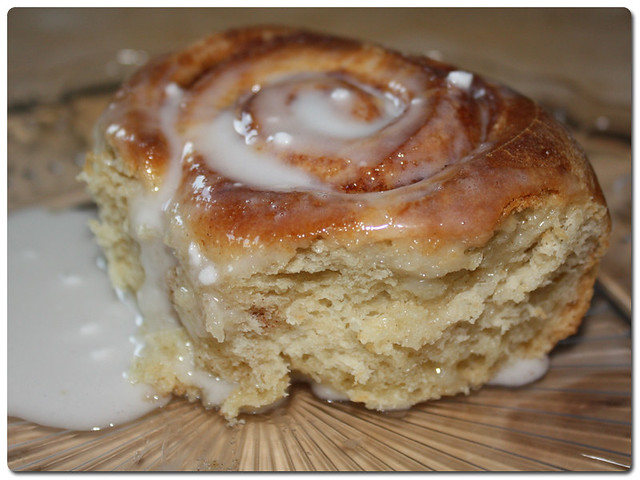
There is a certain type of American cake that I have always admired and wished I could try and that is the humble Cinnamon Roll. Soft, sweet and full of spice, I have always thought that they looked absolutely delicious. Here is the UK we don't generally have cinnamon rolls in the form that seems most popular across the pond, here the closest we get seems to be a danish or a belgian bun. I wasn't going to let that deprive me of trying out these sweet treats though and I went on the hunt for a recipe.
cina30

Cinnamon rolls, though I call them cake, are actually dough based, that means yeast, and that right there is why it took me so long to make a batch of these. I have always thought of dough as being tricky. I really shouldn't do as I am a bit of a pizza aficionado but I shy away from other kinds. I spent quite a long time comparing recipes and deciding which would be the best to try to make first. I settled on a simple one, all american in its simple flavours (no complicated extras) and one which looked like it would be relatively quick without ridiculously long rising times.

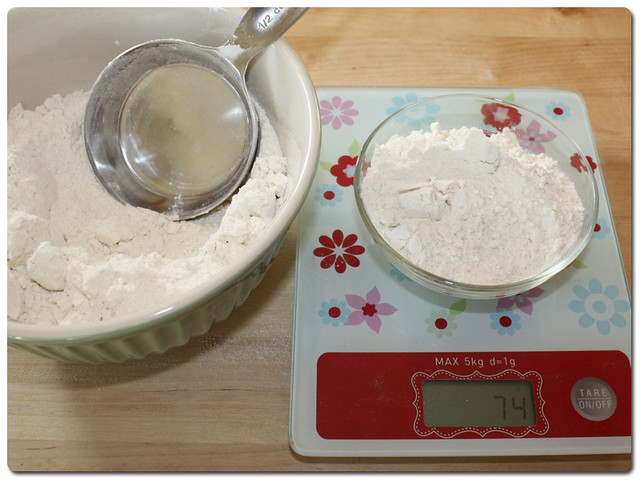
I eventually settled on this one from Sally's Baking Addiction. She calls them easy, and I have to admit they were exactly that. I managed to make this batch while I was between turns of my Cronuts, they were that quick! Sally has been very helpful and converted the measures from cups into metric for us Brits, it saved me doing a lot of scooping and measuring, so thank you for that, but I have also weighed a couple of the remaining volume measures to make it easier.

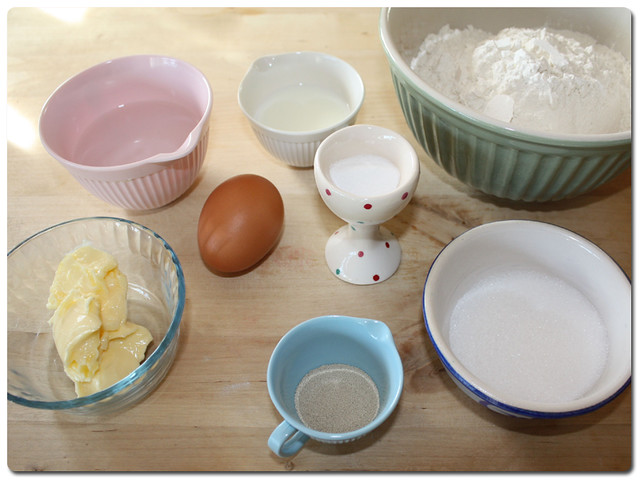
For the rolls themselves you will need:
cina1

  • 345g Plain Flour
  • 50g Granulated Sugar
  • 1tsp Salt
  • 7g Quick Rise Yeast (1 Sachet)
  • 120ml Water
  • 60ml Milk
  • 40g Unsalted Butter
  • 1 Large Egg

And for the filling:

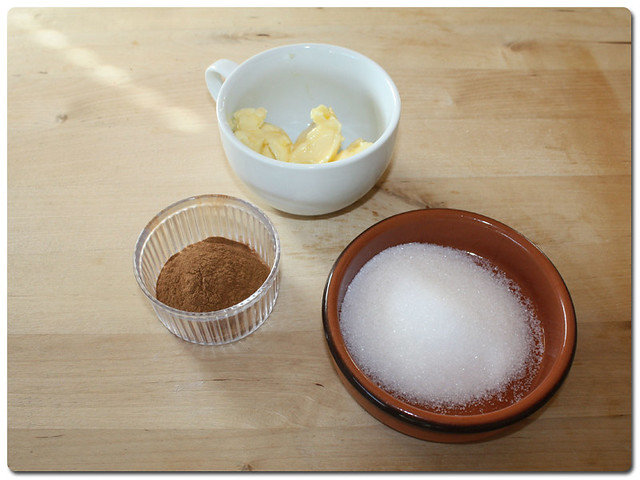
cina2


  • 45g Softened Unsalted Butter
  • 1 1/2 Tablespoons Ground Cinnamon
  • 50g Granulated Sugar
(though I did not use all of this)

cina3

To make the dough, start by setting aside 75g of flour into a separate bowl.
cina4

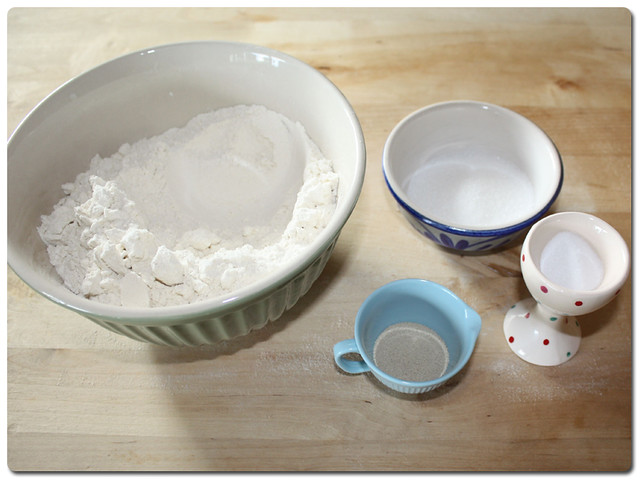
Take the rest of your dry ingredients and add them into a large mixing bowl.

cina5

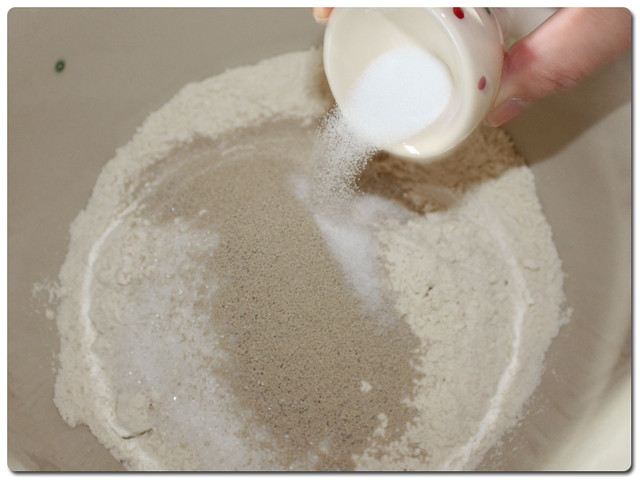
First the flour, then sugar,

cina6

cina7

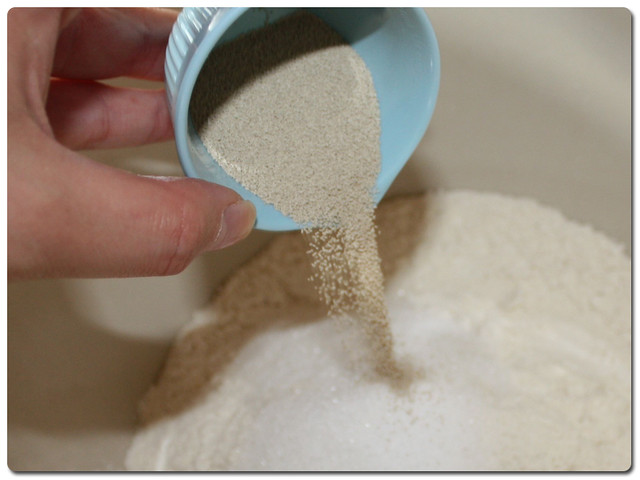
Add in the yeast and then the salt.

cina8

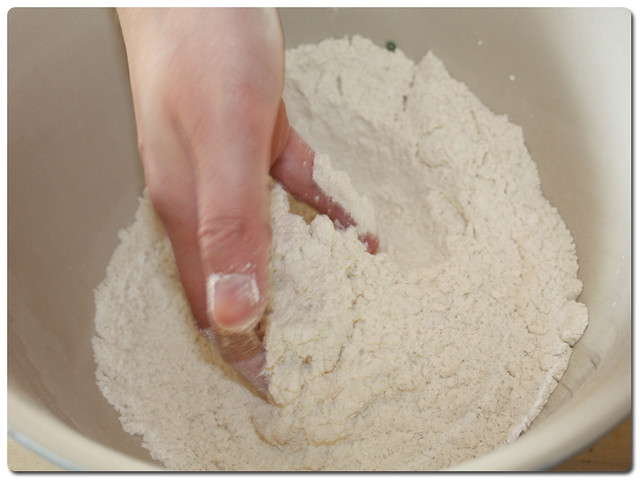
Mix together with your hands until all ingredients are evenly distributed.
cina9

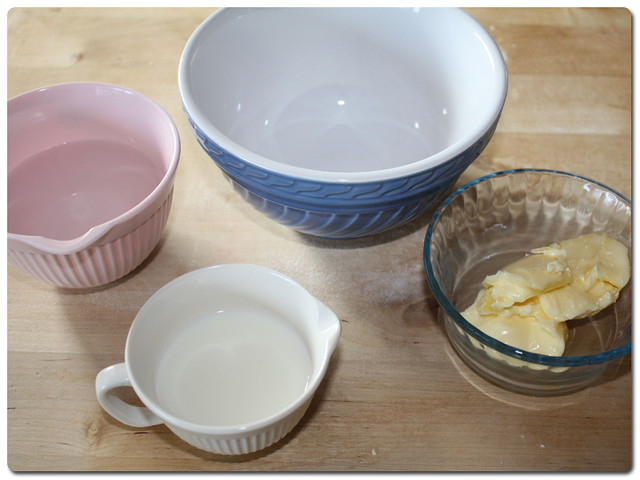
Next take your wet ingredients and in a separate bowl begin to add the butter, milk and water together.
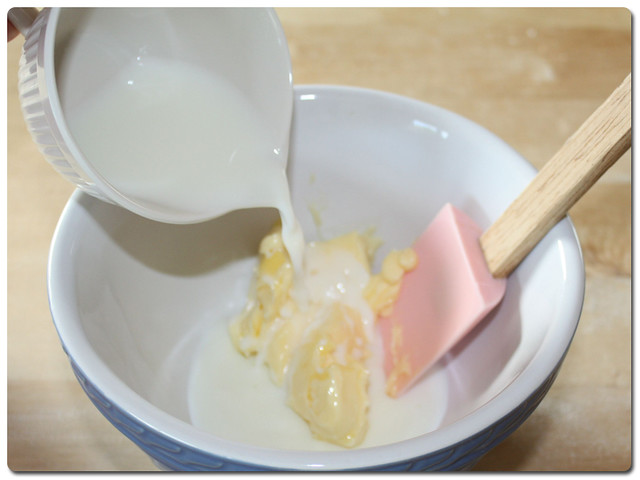
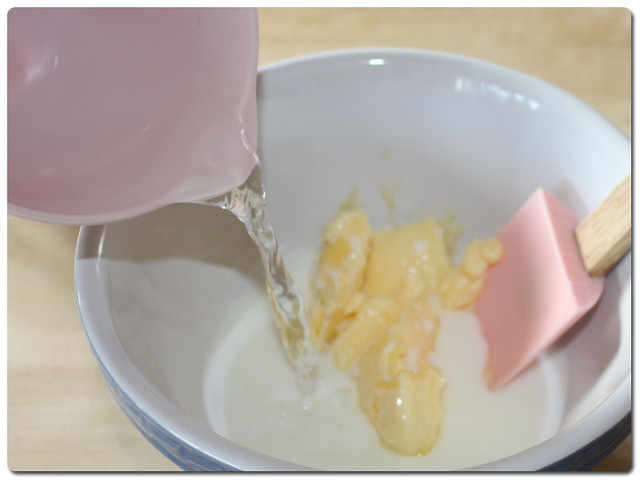
cina10

cina11

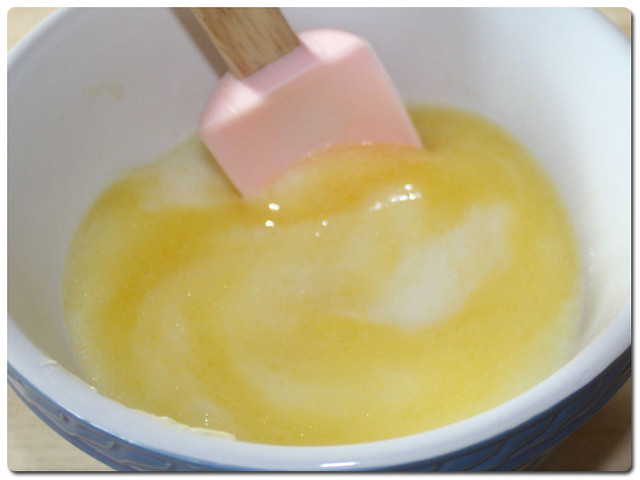
Then put the bowl in the microwave and heat in small increments on low until the butter is melted and mixed into the milk and water. Make sure the mixture is hot to touch, but does not burn.
cina12

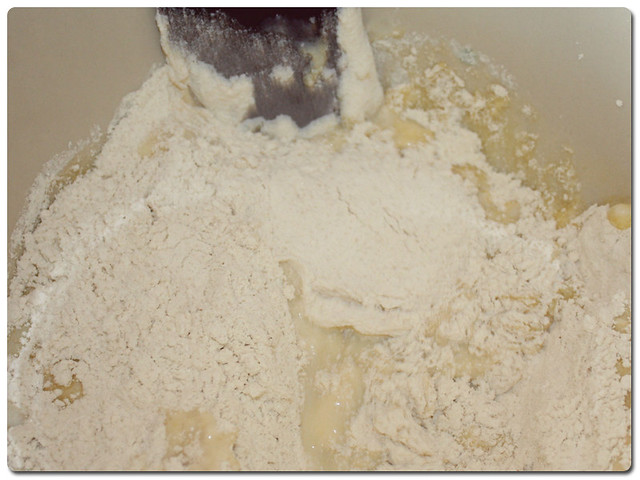
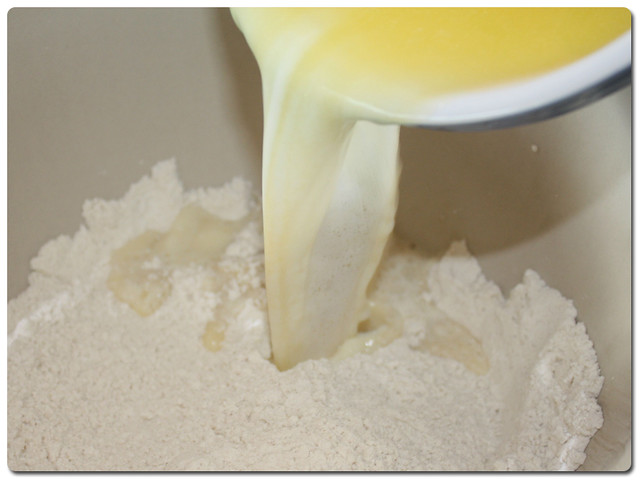
Pour the wet into the dry and begin to stir together.
cina13
cina14

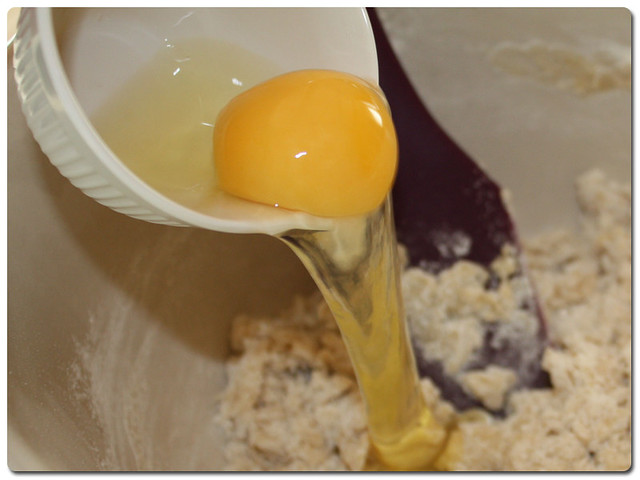
Add the egg and continue to stir.

cina15
cina16

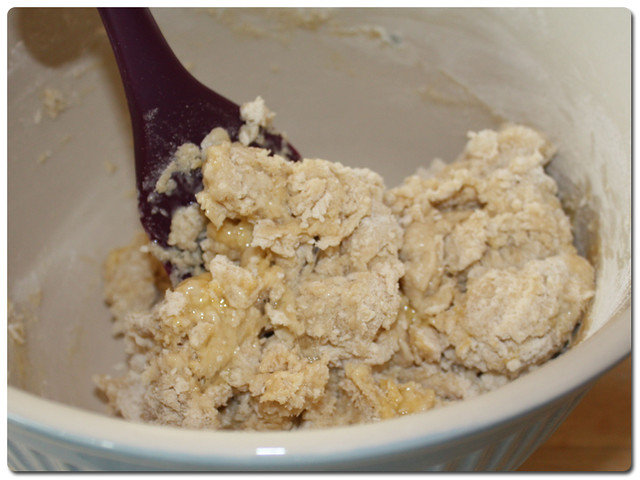
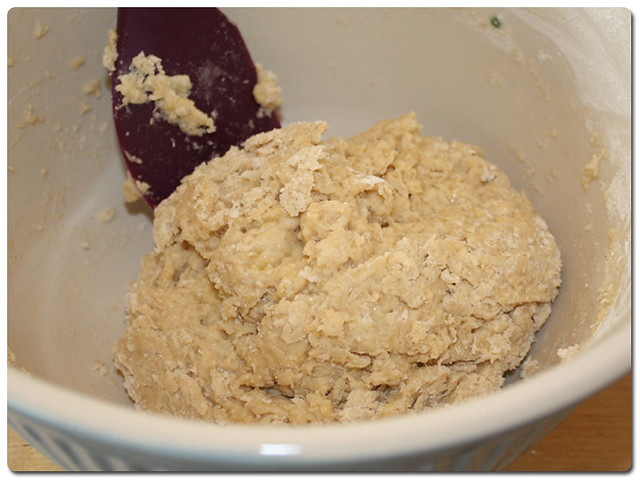
Add small amounts of the reserved flour until the dough comes together and begins to pull away from the sides of the bowl as you mix and has an elasticity to it.
cina17

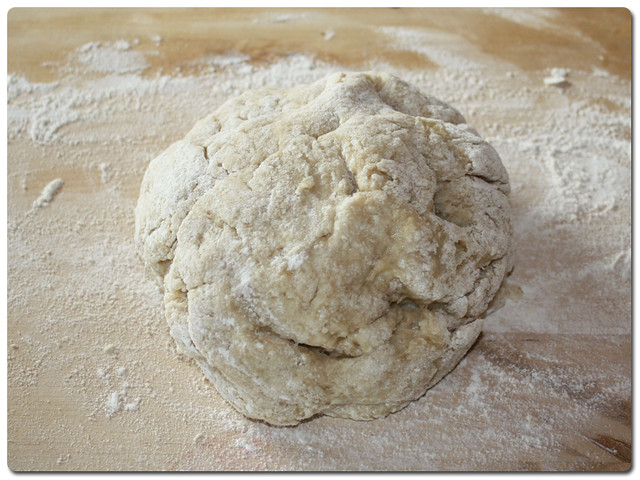
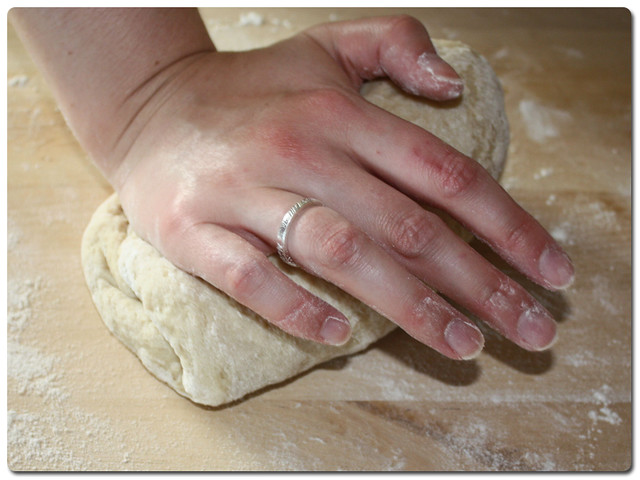
Turn the dough onto a lightly floured surface and get your hands mucky! It is time to do some kneading!
cina19
cina20

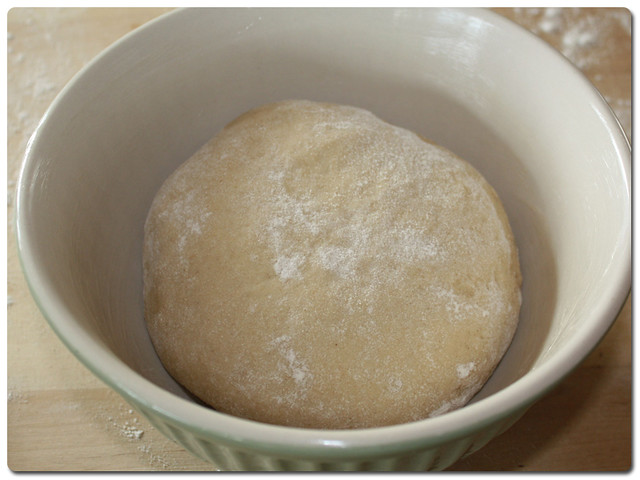
Knead for 3-4 minutes until the dough is smooth, then place in a lightly greased bowl to rest for 10 minutes.
cina21

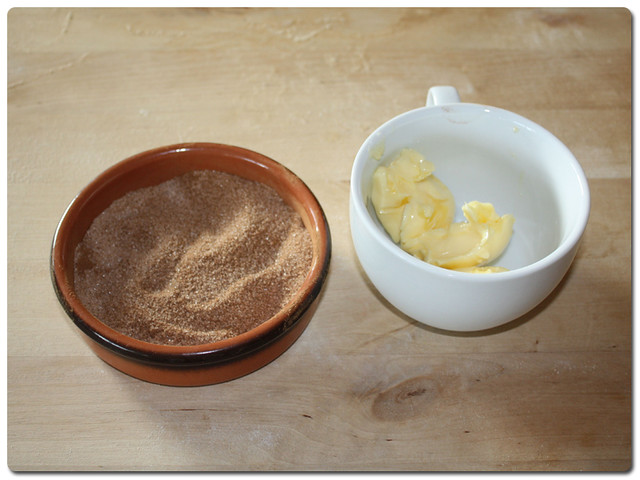
While that is resting, mix together your cinnamon and sugar in a bowl, and make sure your butter is room temperature, suitable for spreading.
cina22

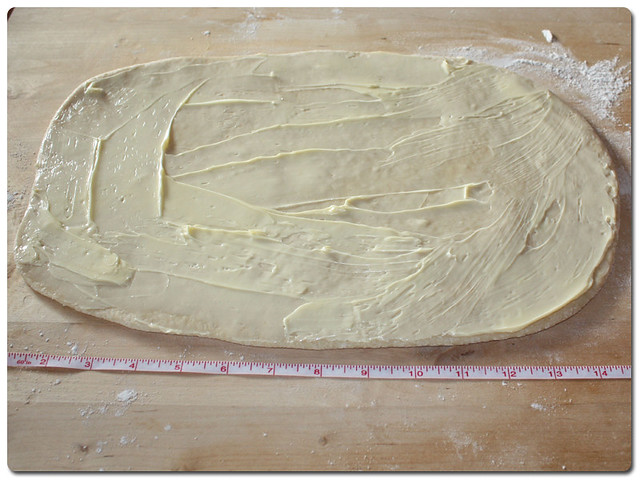
After your 10 minutes of resting the dough, roll it out into a large rectangle. The recipe states that it should be 14x8 inches, but personally I think you can judge it better by depth and mine was about a half a centimetre thick.
cina23

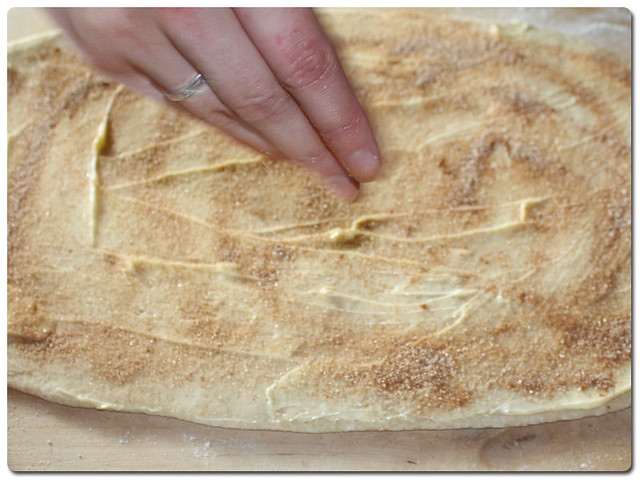
Spread the softened butter all over the top of the dough, making sure to go to the edges. Sprinkle the butter with the cinnamon sugar, being as liberal as you desire. I didn't use all of mine up but would maybe be a bit more generous next time. Even if you think there is a lot on there, after cooking it may not be as strong as you think so I would recommend adding a little more than you would naturally be inclined to add.
cina24

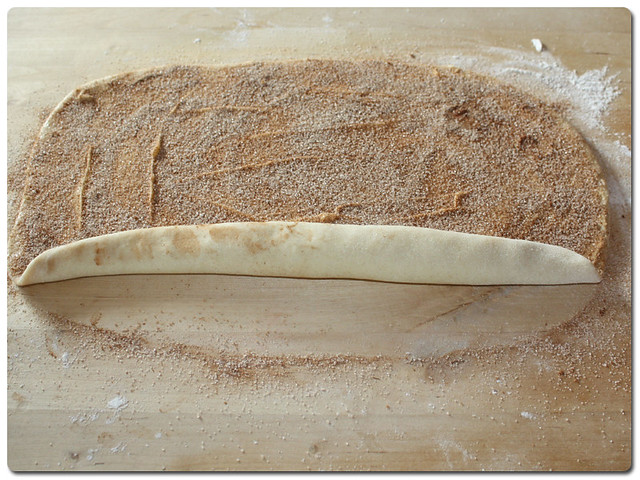
Once coated, you can begin rolling. Lift the long edge of the dough nearest to you and begin to roll it over itself. Try to keep it fairly tight but don't squeeze.
cina25

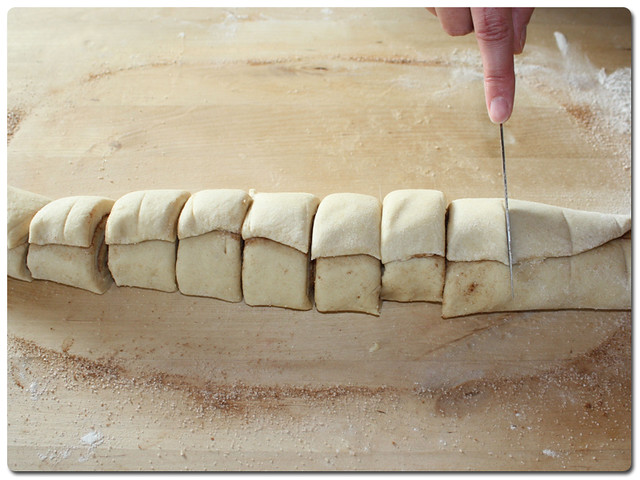
Chop your cinnamon sausage into 11 pieces, or more if you are after smaller rolls.
cina26

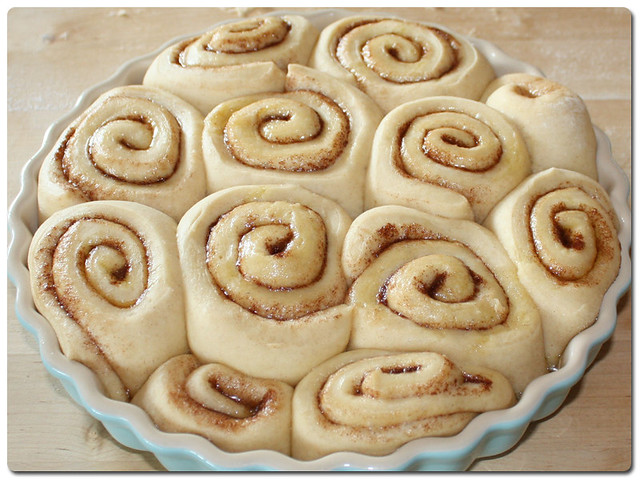
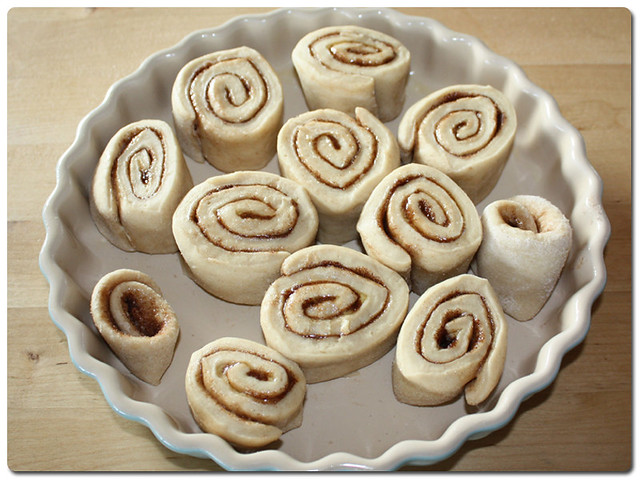
Lightly butter a baking dish and place the rolls inside, and then set them aside to rise. To help mine rise I turned on the oven to the first gas mark and let it warm up. Then turned it off before putting the rolls in and setting the timer. You can let them rise in any warm dry place though if you have a particular favourite.

Make sure to leave room between them as in the 60-90 minutes they take to rise they will go from this:
cina27

To this!

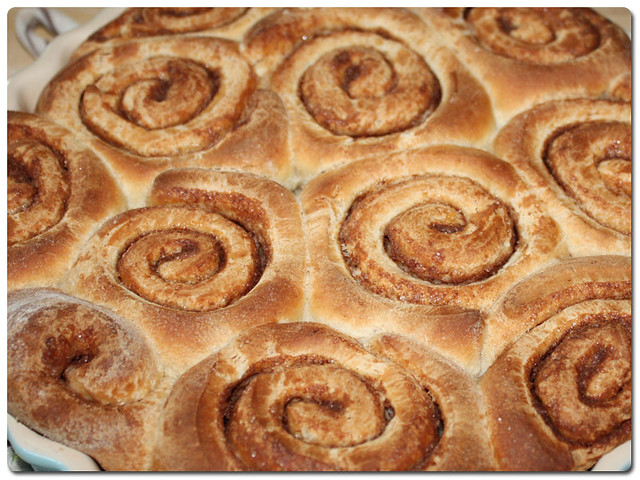
cina28Then when they were ready to cook (doubled in size) I just turned the oven back on again and up to 190 degrees C/ Gas Mark 5 and baked them for 25 minutes.

I should have listened to Sally's recipe and covered them with foil to prevent over browning as our oven has been on the blink lately, but I didn't so they are a deeper shade than I had originally wanted, but they actually added an additional texture which only added to the enjoyment when eating them.
cina29

Pour over a little glaze made from a bit of icing sugar, milk and whatever flavouring you like (I went with good old vanilla) and watch it sink in.
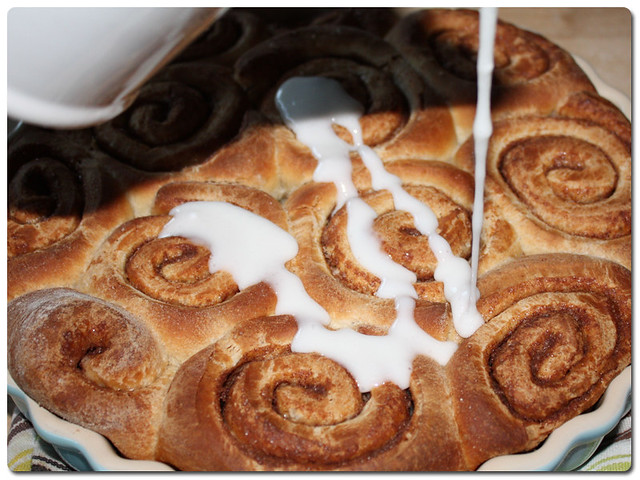
cina32

On top they are toasty brown and the sugar has given them a crispness, but lift them out of the pan and underneath they are fluffy clouds of yumminess.

cina30

If you are anything like me you won't be able to resist an extra drizzle of glaze.

cina31

They were absolutely delicious, and really so easy to make, I highly recommend giving them a go yourself.

These are definitely going to be a new staple in our household!